Time for another post-processing tutorial.
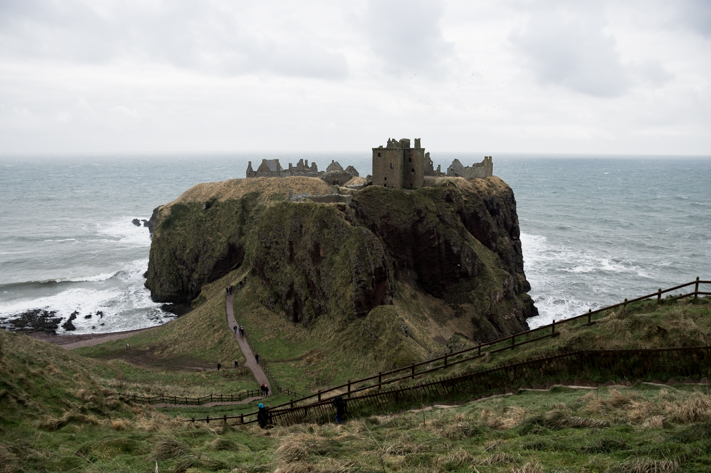
I was out at the picturesque Dunnottar Castle near Stonehaven in Scotland. Although the ruined castle looks amazing sitting stop it’s rocky plinth, the weather was not so attractive. Dull grey skies and high winds which is often the norm for Scotland. However, this is a dramatic building in a dramatic location and I felt the dull skies could lend to this drama if the photo was processed correctly.
Capturing the full Dynamic Range….badly!
As I normally do, I took three different exposures to capture the full dynamic range. I do this because of the difference in brightness between the sky and foreground. Capturing different exposures gives me access to data from a wider dynamic range. Unfortunately, as I wasn’t using a tripod so the lightest of these came out blurred. Oops!
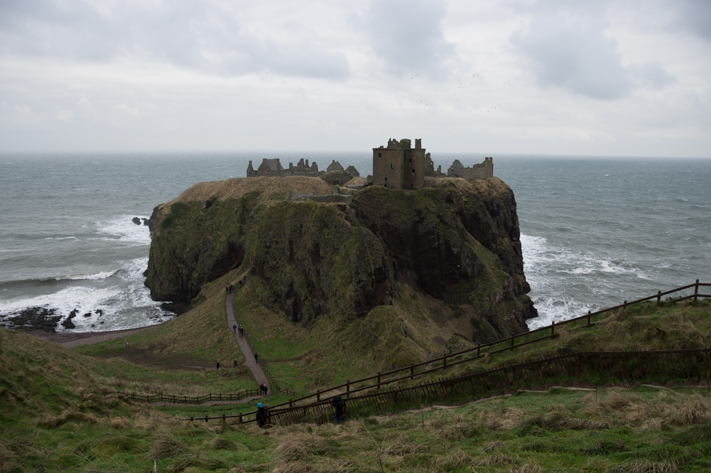
But all is not lost, it just means I only have two exposures to work with, the darkest exposure and the mid-range exposure.
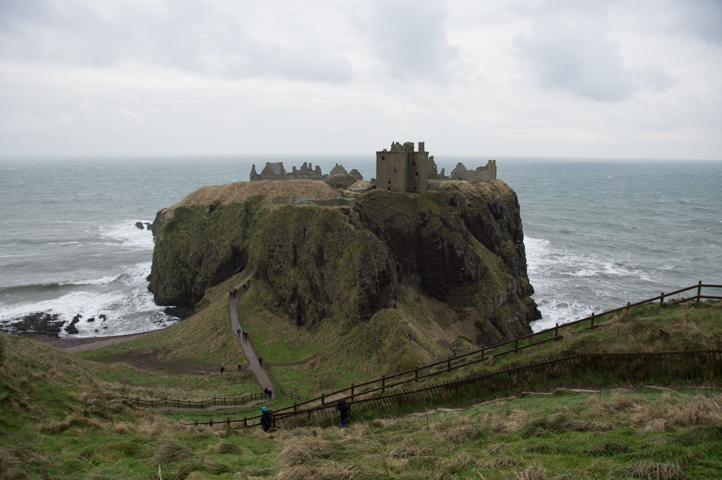

Although, I don’t have the lightest exposure, I can work around this. I will use the top photo (the mid-range exposure) as my base image and work from that.
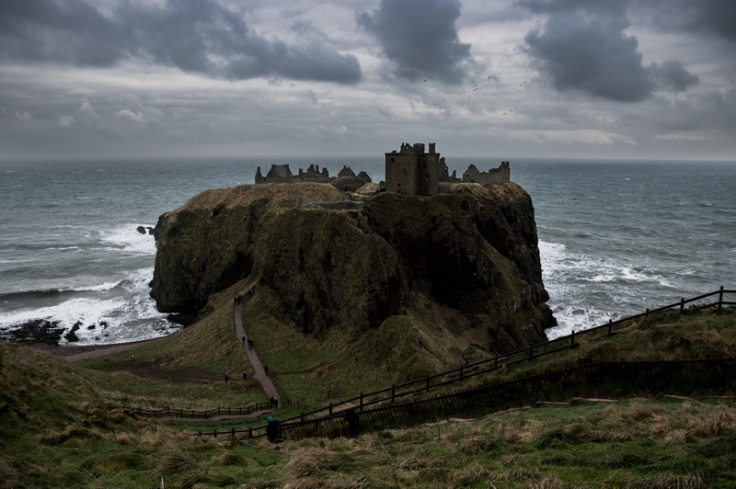
Next, I merge the two images using Lightroom’s HDR function. This combines the image into one, not only aligning them but also giving an image with much expanded dynamic range data.
Where to take this Photo?
Now I have my HDR image, it’s now time to think about how to process this photo.
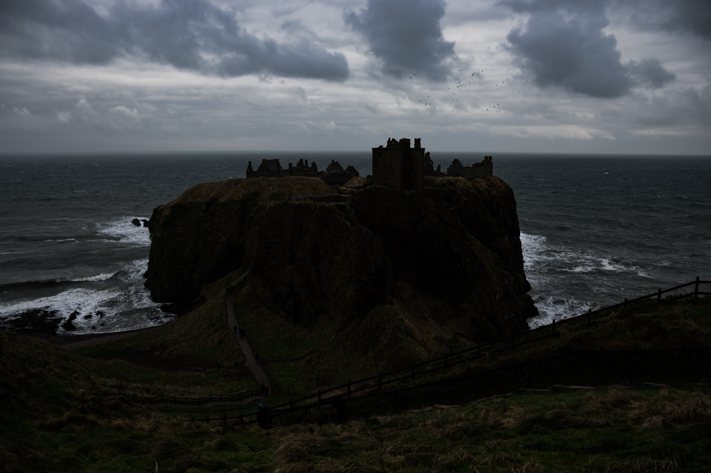
It is a dark, stormy day and the castle looks a bit eerie, almost sinister in this light, so I want to emphasise this when I process it.
- The sky and sea are too bright and lack the contrast for an eerie, stormy image so that will have to be addressed.
- The landscape elements of the grass and castle appear flat and lack contrast so this will also have to be dealt with.
- The castle doesn’t have enough emphasis and the foreground elements in the photo don’t interact well enough with castle.
- I also feel the people walking along the paths distract from the focal point (the castle) and also detract from the dark mood I wish to create. They will have to be removed.
This is a basic roadmap of how I want to process this photo and I will find more elements I wish to change as it progresses. However, this is a good starting point.
Getting straight to it
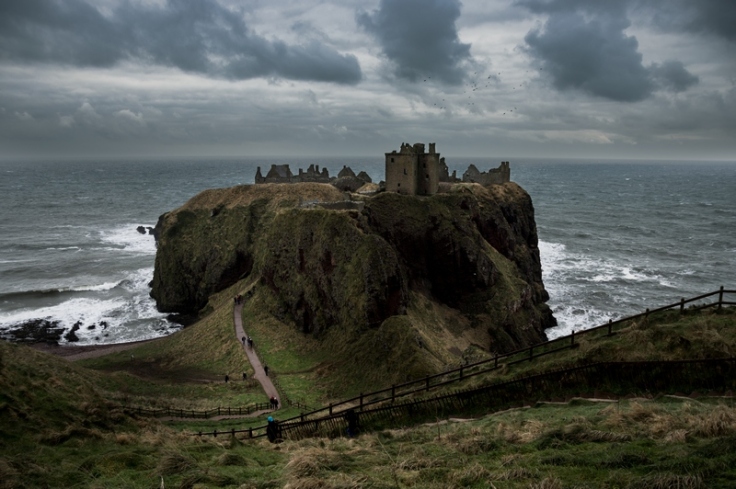
The first thing to do, and this should be something you should do when processing any landscape image, is make sure the horizon line is straight. Unless you want a deliberately skewed horizon line for artistic effect, then having a squint horizon looks sloppy and unprofessional. Especially, as it is so easily rectified, with even the most basic processing software having the ability to rotate the image.
Storming up the Sky and Sea
As I explained in another tutorial, when I have to do significant tonal changes to one or more elements of a photo, I prefer to make different copies and merge them together in Photoshop.
So the first thing I want to do is process the image to give it a dark, stormy sky. In Lightroom, I reduce the exposure and boost contrast to give the sky more a darker, more stormy appearance. I also desaturate the colours as the blues were too bright.
I now export this into Photoshop for later.
After doing this I notice the sea is probably too dark so I will now process the image to make the sea look nice and stormy. I make the exposure lighter than the sky and boost contrast and clarity to give it more definition. I then import that into PS.

A Lighter Touch to the Foreground
Lastly, I want to process the image for the foreground and castle. I want these to be lighter than the other two images so they stand out more and their detail is more evident. I take the base image and lighten these elements and add some contrast and clarity to make them stand out more. I also destaurate the greens in the grass to contribute to the dark mood I wish to create.
I have to be mindful that I don’t have a bright exposure to work from for the foreground. So if I lighten it too much I will pick up excessive noise.
Putting it Together
With the three exposures completed I now have to merge them together in Photoshop. I make each of them a separate layer and use luminosity masks to combine them. I will talk about luminosity masks in a later post, but suffice to say they are excellent when merging exposures that don’t have straight horizons.
After merging, I notice an issue to take care of before moving on. The sky and sea colours are too disparate. So I adjust the colours of these slightly so they are more similar.

Dodging and Burning
Now I want to start picking out details with selective dodging and burning. This is just lightening and darkening certain parts of the photo. I want to bring out the highlights in the castle and foreground so I lighten these up. I also lighten the path to help use it to lead the viewers eye towards the castle.
I then darken down some shadow areas to add more contrast.
Making the People go Away
I want to try to create the image of a desolate castle in a storm, so the people walking on the path are contrary to this, and they also distract the eye. I use a combination of Photoshop’s clone stamp, patch, and healing tools to make them disappear.

Finishing Touches
Nearly done, so just a few final touches.
- Crop the right side of the image to centralise the castle.
- Boost the contrast a bit more in the sea and sky
- Add a vignette and brighten the centre of the image slightly
- Some selective sharpening in the foreground and noise removal in the sky. I have to be careful with the sharpening as I have more noise in the image than I would have liked because I never had a bright exposure to merge initially.
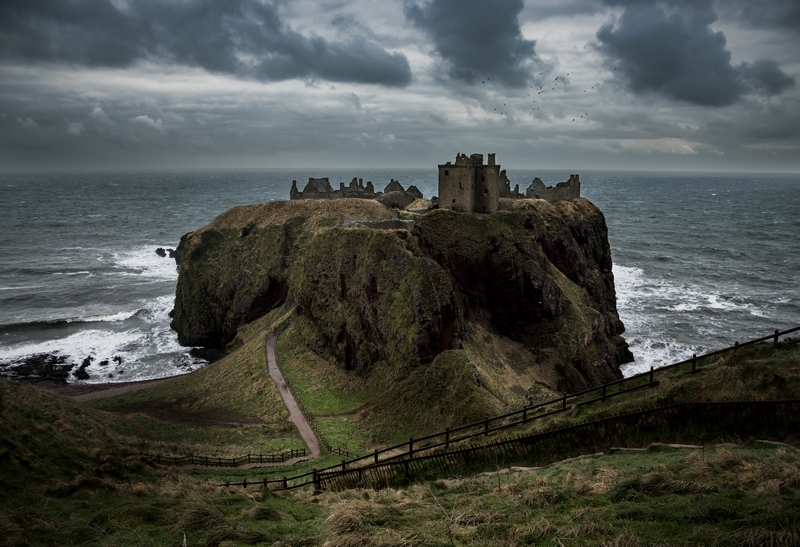
And there we go. The final image.
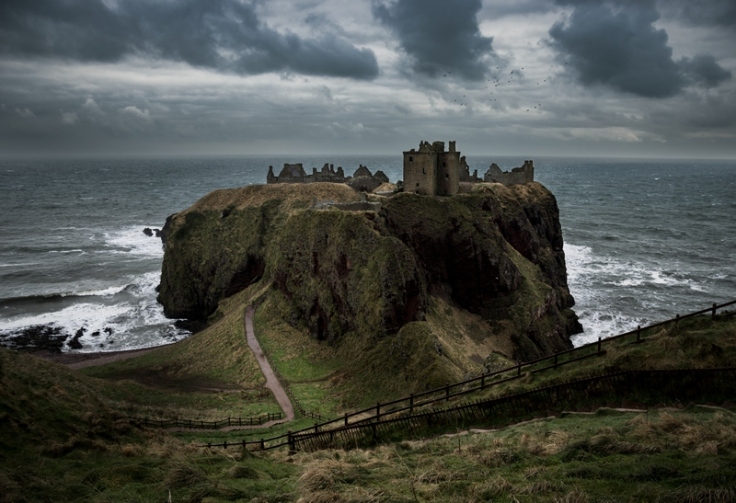
I hope I have been able to show how I was able to take a flat, grey photo of this dramatic building and give it the dark, brooding character it deserves.
Thanks for Reading,
Neil


What a difference the finishing touch of extra central light made. Thanks for sharing these fantastic lessons 🙂
LikeLiked by 1 person
Thanks. I’m glad you like them. I will hopefully get more up soon.
LikeLiked by 1 person
Beautiful post..
LikeLiked by 1 person
Thank you. I appreciate it
LikeLike
Beautiful post
LikeLike