
Winter is coming and, depending on what part of the world you live in, so are the long dark nights. I live quite far north and in midwinter I get about 7 hours of daylight during the day. Although that does open up the possibility for plenty or sunrise / sunset photos, it also opens up a good opportunity to get some night photography.
For a lot of people night photography involves shooting the celestial bodies in the sky but where I live cloudy skies are more common than clear skies, so you have to get a bit more creative with night photography. So what I want to have a look at in this post is taking night photographs around towns and cities where there are plenty of opportunities.
Finding Light
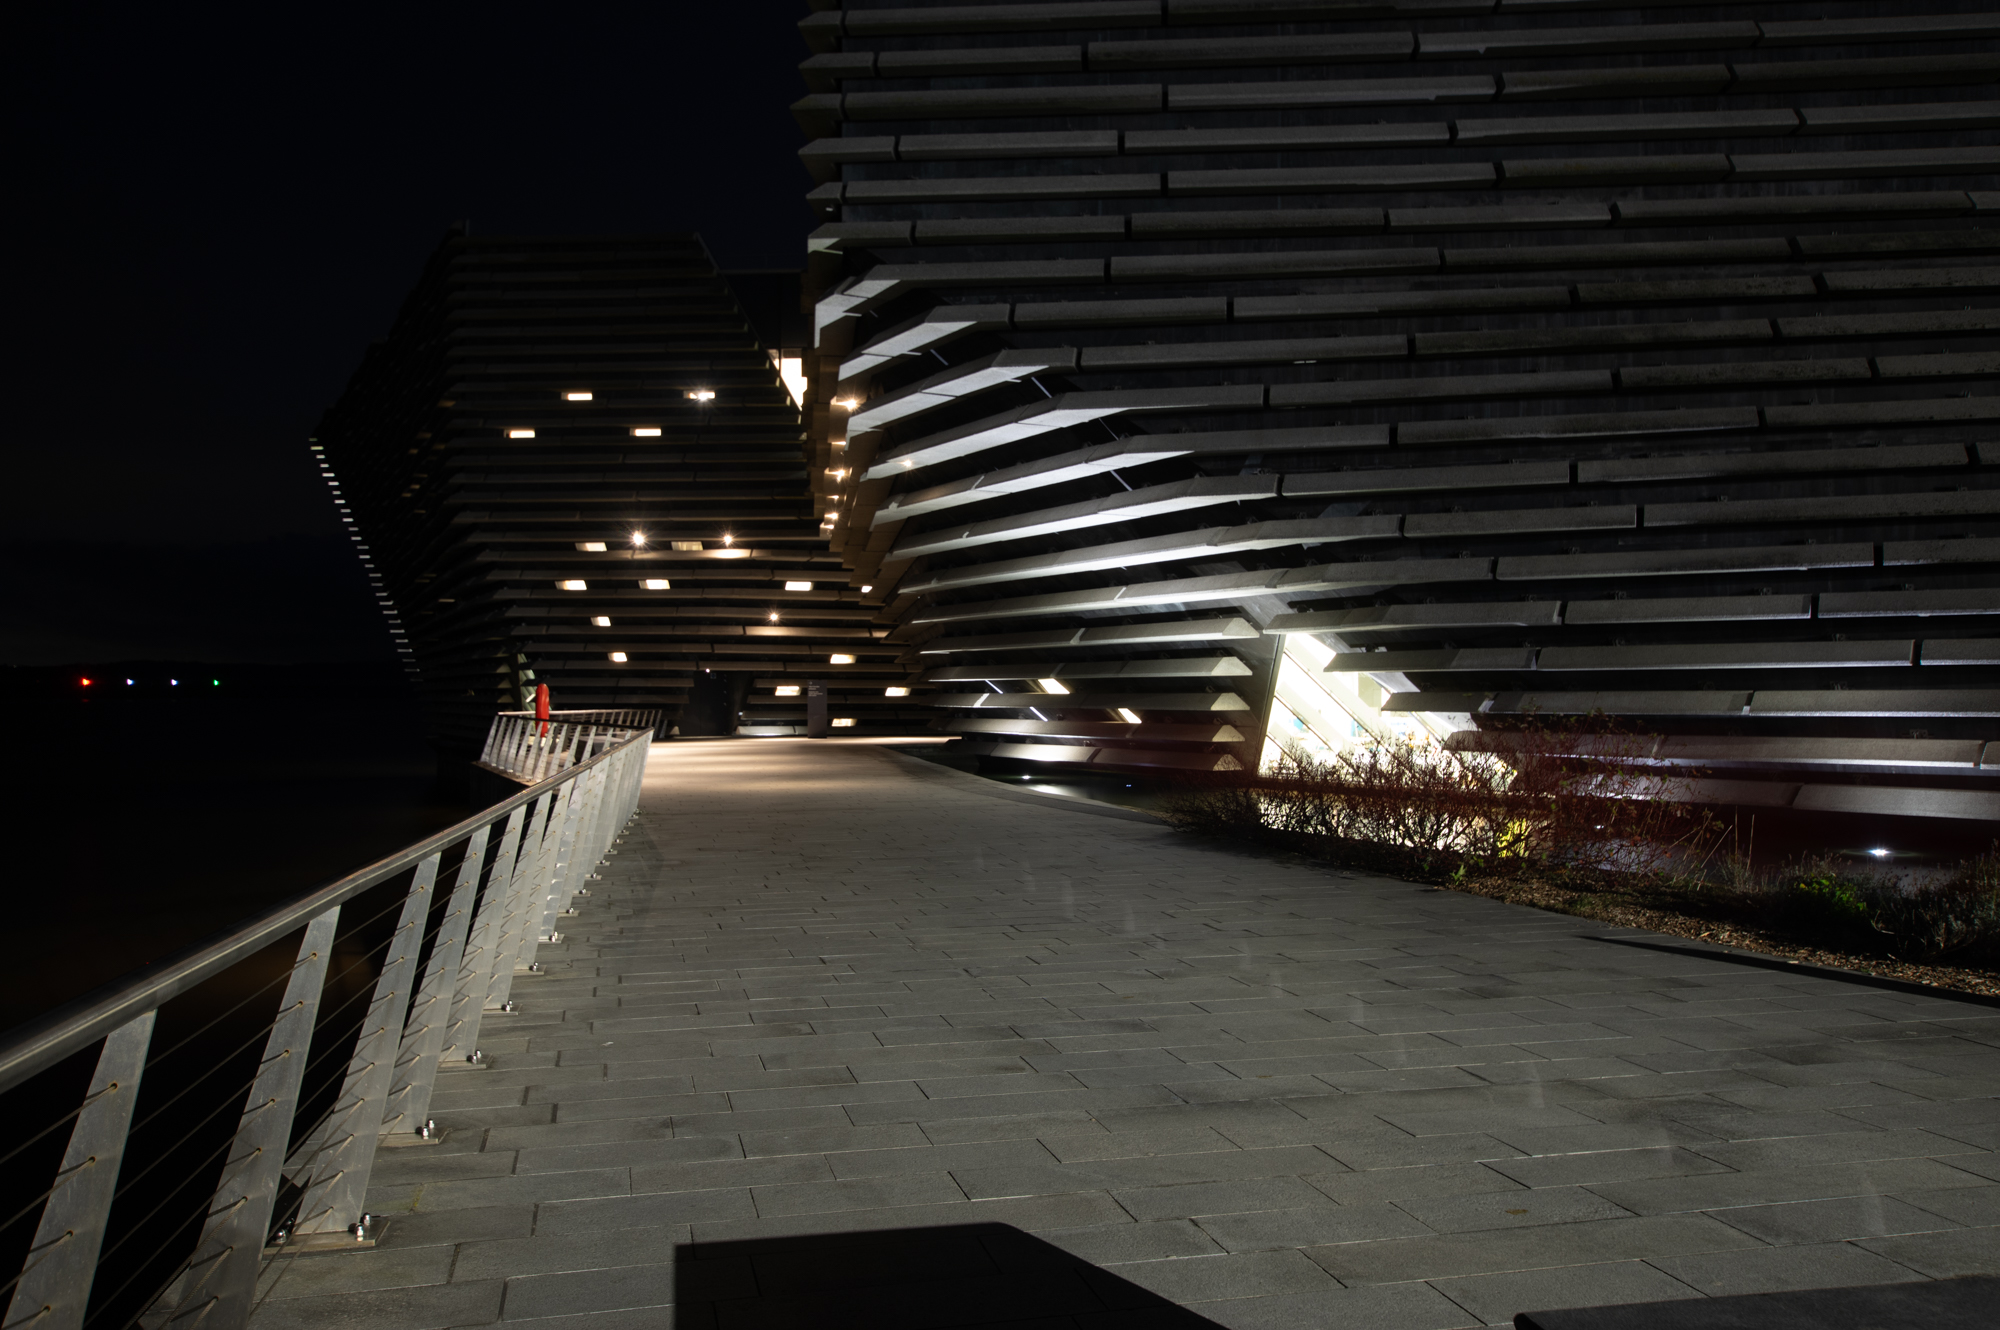
The first thing you are going to need to do is find somewhere with some level of illumination. Towns and cities have plenty of lights like streetlights, uplighters, and many of the buildings are lit up, so there is usually plenty of scope for easily finding suitable light sources. When setting up your shot think hard about the light sources that illuminate the scene, as there can be many. The intensity of the light, the colour of the light, the direction of the light all have a dramatic effect on the final scene.
Twilight vs Night
A lot of people will take night shots at twilight and there is good reason for this. Twilight still illuminates the sky to a certain degree meaning that your photos will still have detail in the sky. Also it provides ambient light which can help balance the light from other sources such as streelights. What I mean by this is that the ambient light from twilight means you use faster shutter speeds, so other light sources wont overly dominate the photo.

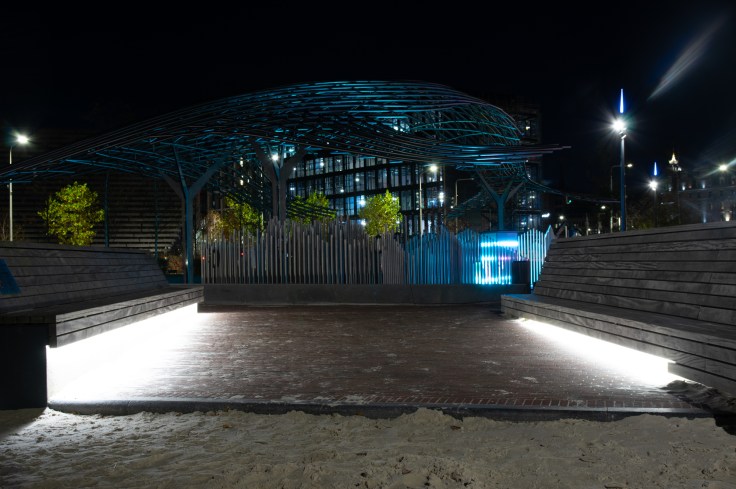
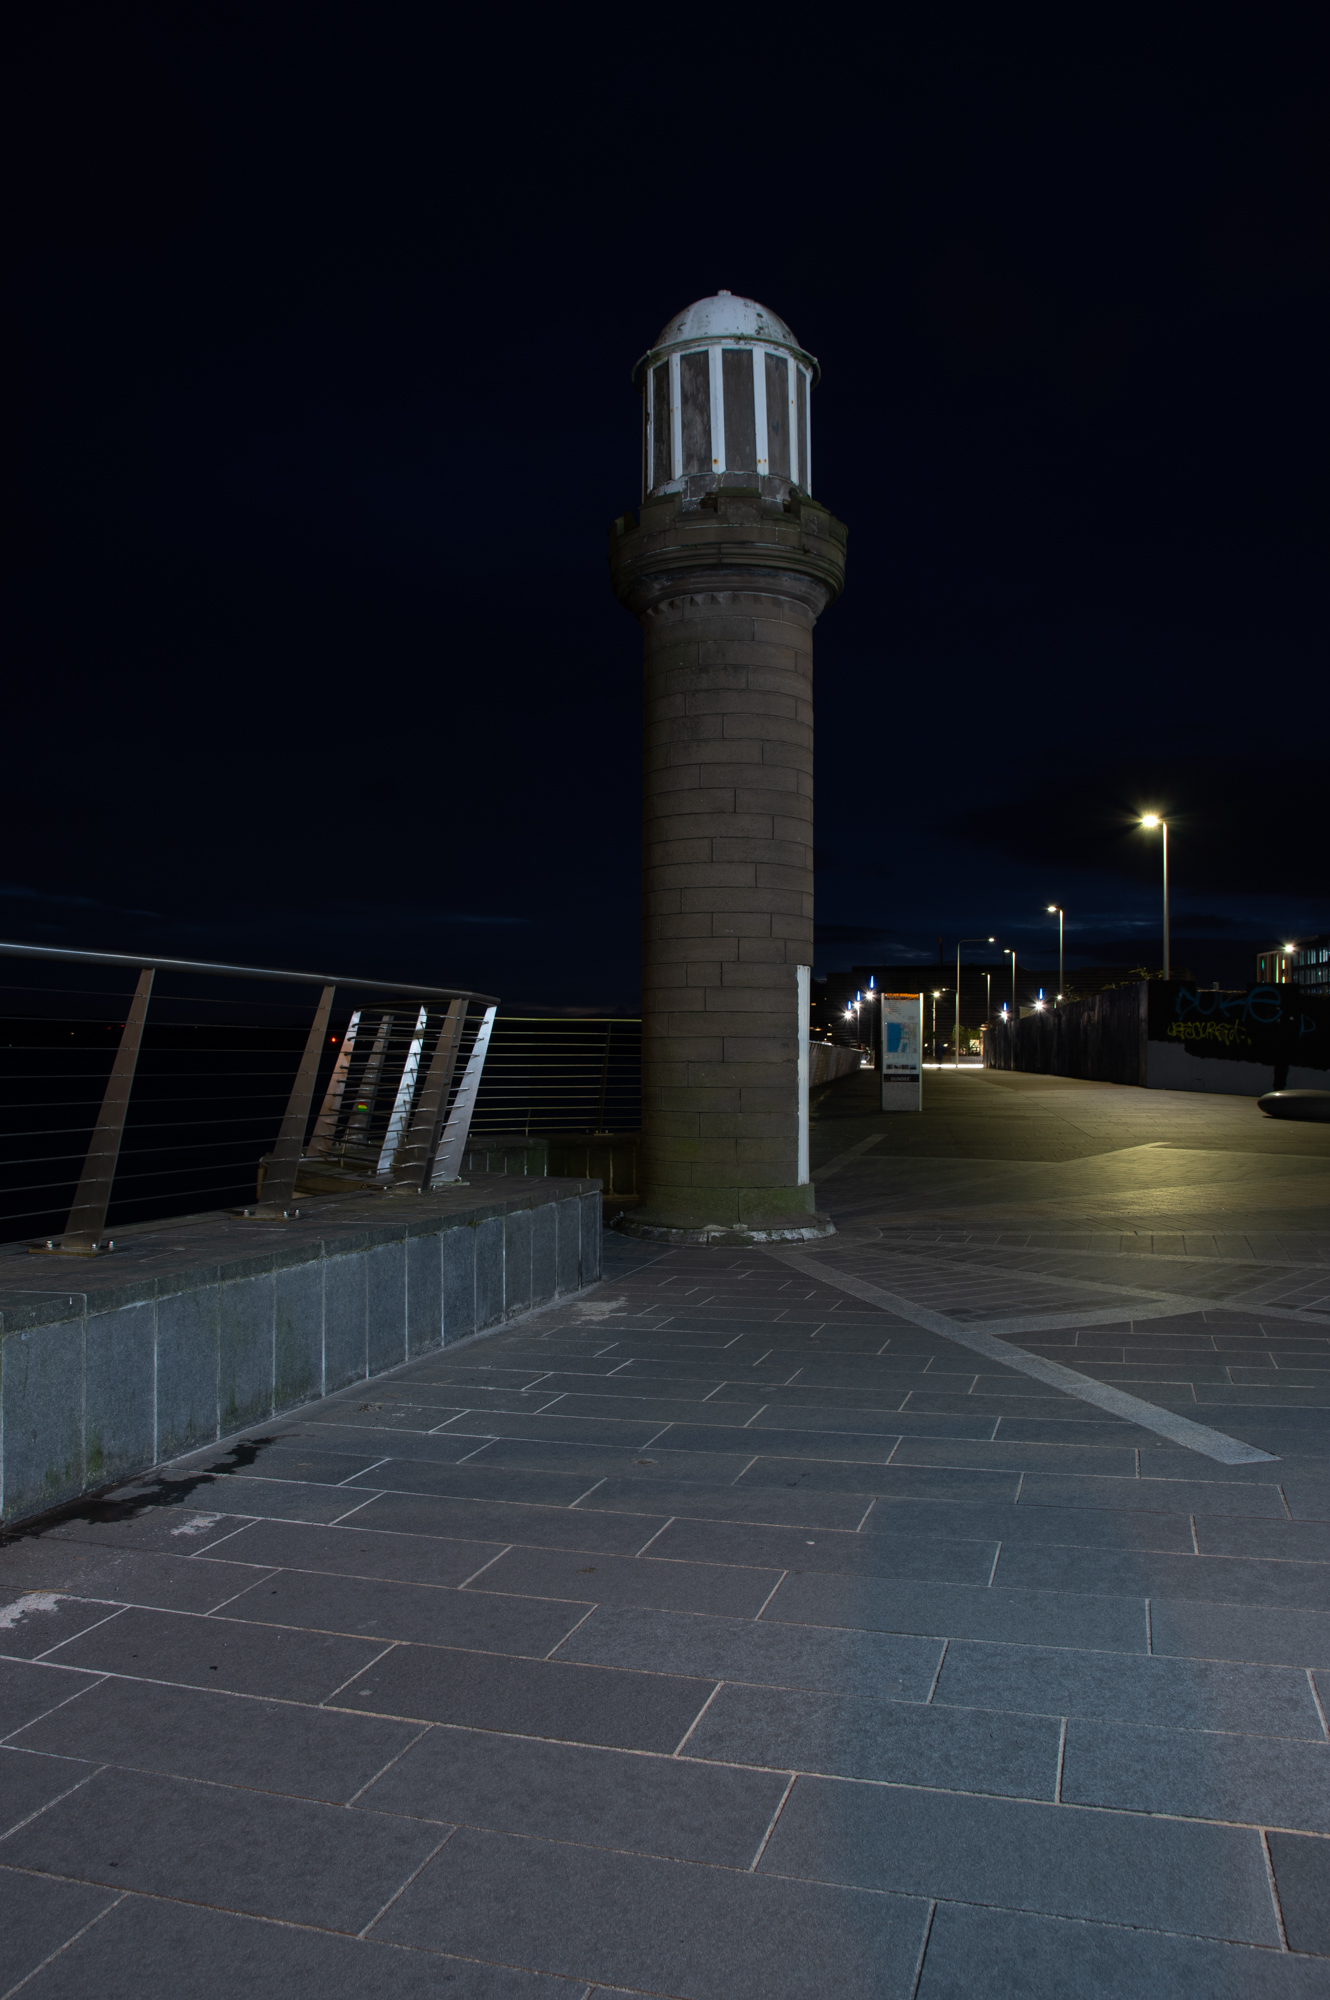
At night, the opposite is true. When the sky is pitch black you are likely to get a flat black sky, or perhaps some stars in there. If the sky is cloudy you can get some weirdly illuminated effects depending on where the moon is and how much light pollution there is. The two photos below show this. The photo on the right shows a flat black sky. The photo on the left was taken later but the clouds were illuminated due to the moon.

Suffice to say When twilight is past and the sky is fully dark, it can give strange almost unpredictable results, or sometimes just give a flat black sky. So just be mindful of this when composing your shots.
Balancing Light
One of the biggest problems you will face taking these night photos in urban areas is trying to balance the light from different light sources. Your eye does not see things as the camera captures them. Your eyes balance different light sources better than your camera will. That can cause problems when shooting at night as it’s very easy to get imblanced illumination. What I mean by that is some things will come out too bright in your photo and other things underexposed, although it didnt seem that way to the naked eye. This can make these types of photo tricky when you have multiple light sources all of different intensities.

If this is a problem, you can take multiple exposures and blend them in post-processing afterwards. But over and above that you just have to be careful and mindful of all the light sources you are capturing in your photo.
Moving Objects
You will be using shutter speeds longer than a few seconds, so moving objects become an issue at night. Moving lights will create light streaks in your photos. Traffic is always good for this and can be used creatively to create traffic trails in photos. Other moving objects will create different effects depending on the level they are illuminated and how long the shutter is open. If it is a dark moving object, moving fast, and the shutter is open for a long time, it may not even show up. The more it is illuminated, the more it will show up as a blurred streak in the image. Just be very wary of moving objects when doing these long exposure night shots as they can ruin a photo, or potentially enhance it too. Remember that adjusting the settings on your camera, such as aperture, will change the shutter speed. Use this to your advantage when moving objects are present.

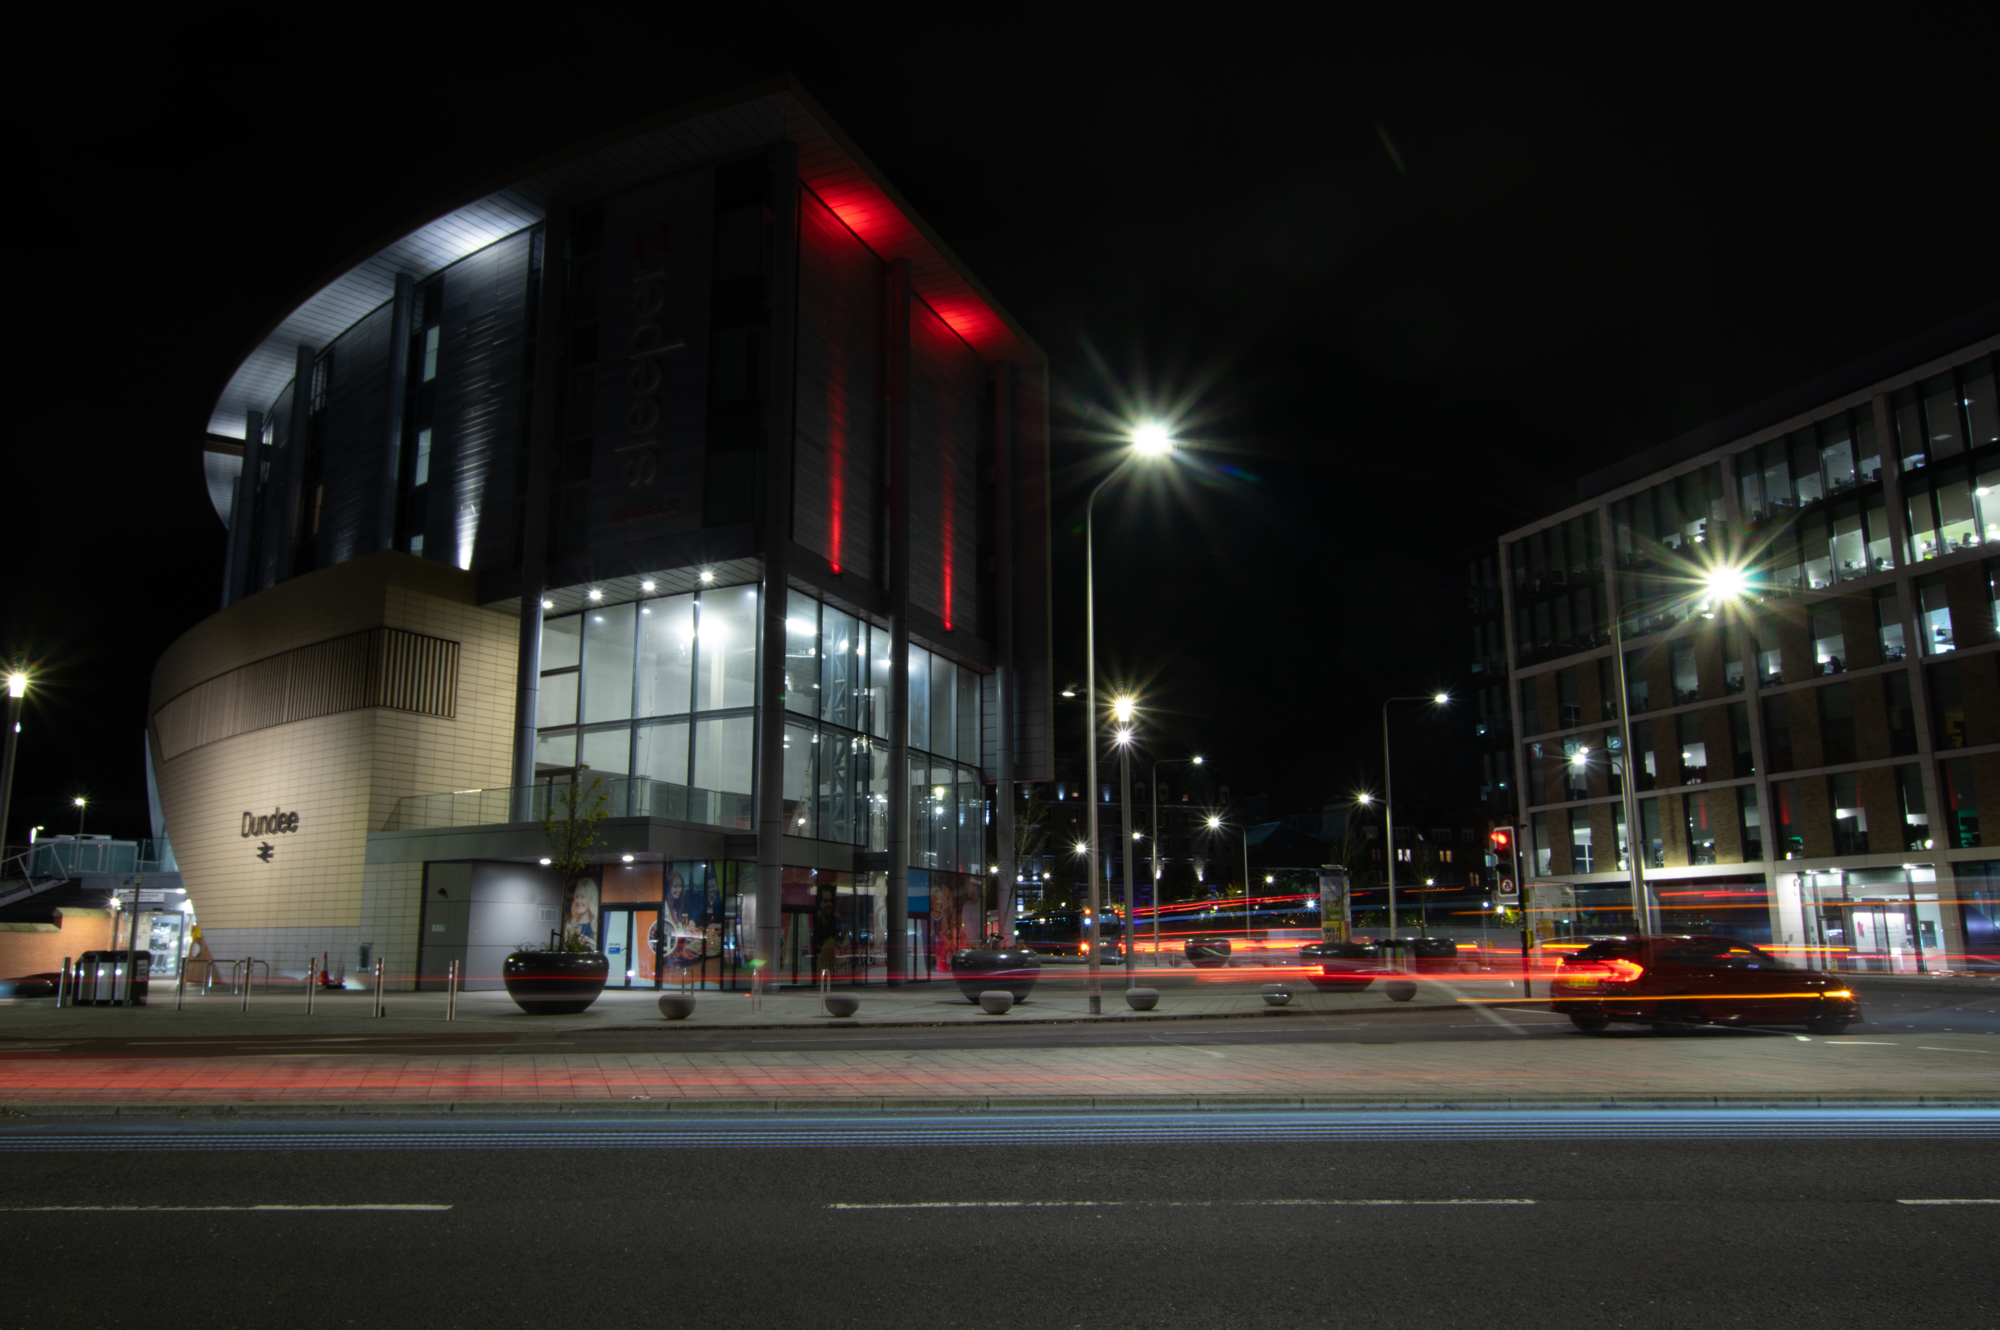

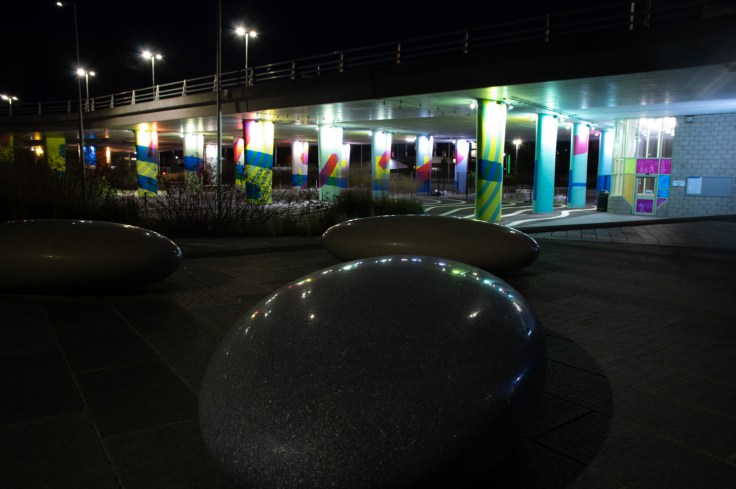
The images above show moving objects in photos. In the Top Left image the flag on the bow of the ship was moving and it creates a distracting blur in the photo. The Bottom photo had someone walking through it but as they weren’t well illuminated you can just see the faintest trace of them on the path. The other two images show how moving objects can be used creatively in these photos.
Adding your own Lights
Another way to spice up night photography is to add your own light souces such as a torch, or even car headlights. This can work well on objects close to you and can help to add emphasis to certain objects in your compositions. Use this technique creatively but just remember that a standard torch isnt very powerful so you wont light up much beyond what is close to you.
Technical Aspects
- First things first. You are going to need a tripod. I know modern mobile cameras can shoot at night handheld but the quality suffers. If you want to take good shots at night you are going to have to keep your camera motionless, and for that you will need a tripod. I also recommend using a DSLR or mirrorless equivalent, if you have one. Mobile cameras dont have the level of control you need. Also, it might be worth hanging something heavy like your camera bag from the tripod to stabalise it if its windy.
- Use a timer or a remote control to trip the shutter. This will minimize movement on the camera from you touching it.
- Set the ISO as low as it will go. This will maximise image quality.
- I recommend using your camera in aperture priority mode. This will allow you to control the aperture and the camera will work out the shutter speed for you. To increase or decrease shutter speed, you can do this by adjusting the aperture and thus letting more or less light in. Just be mindful you have the appropriate depth of field for your shot.
- Be prepared to a adjust the exposure balance as its easy to under or over expose shots at night.
- Some cameras wont automatically work out the shutter speed if it goes over 30 seconds. If this happens you will have to use ‘Bulb’ mode and work out the shutter speed yourself using trial and error. You will also need a remote control to open and close the shutter without touching the camera.
- Because of the seeming unpredictability of these photos, be prepared to take multiple shots of the same scene at different exposures until you get one that looks good.
- One last point, long exposures can zap battery power especially if you are also using the live screen on the back of your camera. Make sure you go out with a well charged battery.
There you go. An overview of shooting at night around urban areas. Although this type of photography has wonderful creative potential, it can be frustrating to get the results you want as all the different light sources can create unexpected results. However, with a bit of learning, forethought, and experimentation you should be able to get some great photos.
Thanks for Reading, Neil


Leave a comment