
Now if you have watched any of the old westerns you will know that the final shootout between the good guy and the bad guy often takes place at high noon when the sun is the highest in the sky. And just like these old westerns where high noon can be a challenging and difficult time for the protagonists, high noon can also provide difficult and challenging conditions for the photographer. In this post I want to have a look at some of the ups and downs to shooting in strong sunlight.
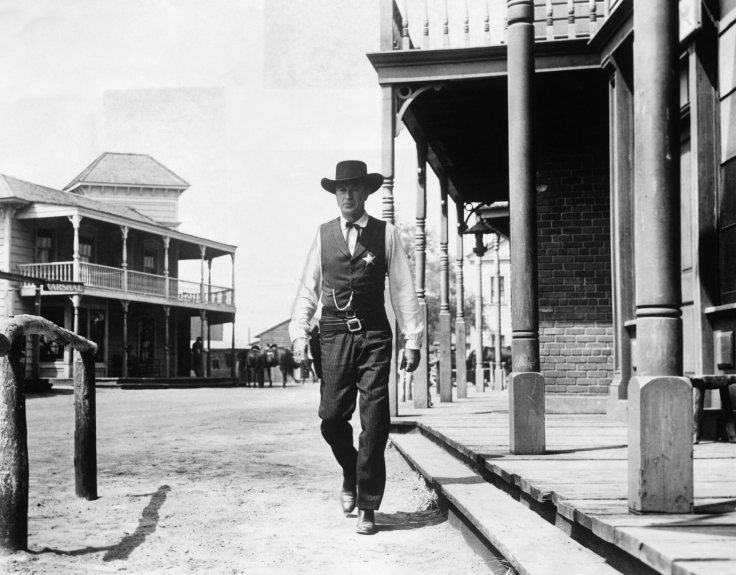
High Noon
Now as we move in a summer in the northern hemisphere the days are getting longer and the sun is getting brighter and higher in the sky. And when 12:00 noon is reached that is when the sun is highest in the sky and at it’s most intense. It bathes the land with intensely strong and very white light. Now this may seem like a good thing, having all this bright, warm light coming down, but it can provide a lot of challenges for photographers. So now let’s have a look at the good, the bad and the downright ugly side of high noon.
The Good
- The strong light provides vibrant colours and because the light is very white, the colours are rendered as they should be.
- The strong light provides a lot of tonal contrast, highlighting some parts and casting Shadows on the others. This can provide nice tonal variation and thus more visual interest in an image.
- Because of the intensity of the light, it allows you to have quite fast shutter speeds and also to use the minimum ISO on the camera, which will increase image quality.
- The light also has a nice summery feel to it which can make your images seem warm and halcyonic.
The Bad and The Ugly
- The light that is produced at this time is very white and I thought it renders the colours of objects accurately, you can often get starkly contrasting colours which can prove difficult in a composition. On the other hand, when the sun is lower in the sky in the morning or evening, the light is a more yellow-orange colour and this tints the objects it illuminates and provides a level of colour unification between them.
- The intensity of the light at this time will provide brutally harsh contrast and this may be more than the dynamic range of your camera can handle. The highlight areas might be too highly illuminates and blown out, and the shadow areas may be too dark and underexposed. In addition to this, shiny materials will produce glare and specular highlights as well, which can be unwelcome in an image.
- Although the strong light will provide contrast, because the sun is so high in the sky the shadows that it casts will often be quite short. These short Shadows will provide less tonal contrast across the image than you would get when the sun is lower in the sky, and less depth to the image overall.
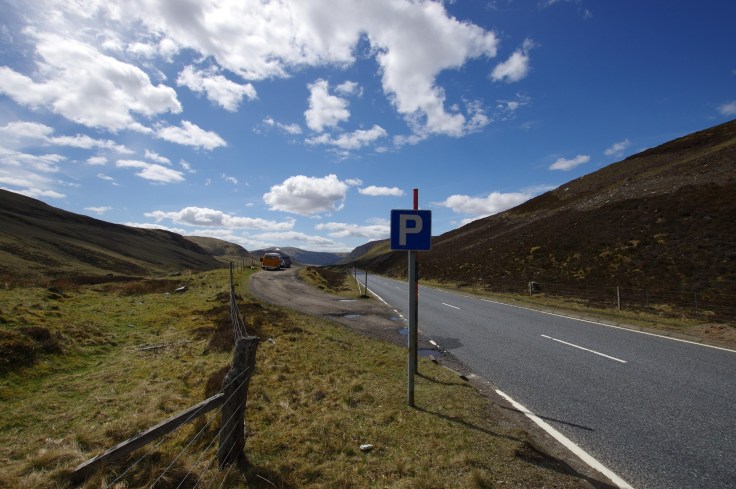
- With these bright sunny days often comes clear blue skies and these flat uniformly blue skies can be uninteresting and ruin a composition.

- The intensity of the sun at this time can cause quite a lot of lens flaring as well and you don’t have to get too close to the sun when shooting to get this lens flare effect.
Now as we can see there are advantages and disadvantages to shooting in strong sunlight at this time of day. But unfortunately what tends to happen is that the downsides tend outweigh the benefits. But there are some things that can be done to help alleviate these problems, so let’s have a look at them.
Tackling the Bright Sun
- The most obvious thing is say is just don’t shoot at that time of day. If you’re going out taking photographs, try to keep it to the mornings or evenings when the sun is lower and less intense. However, that’s not always that easy. It could be a case that the conditions are better for that time of day, whether that be the weather conditions or just the availability of time you have to take photos. But if possible, try and take your photos in less intense sunlight.
Handling the Contrast
As I have said, one of the biggest problems that you get shooting in this bright light is you get intense contrasts that your camera can’t handle within it’s dynamic range. Thus, you end up with blown out areas and underexposed areas. But there are some steps you can take to mitigate this
- The first thing you can do and, it’s something you should be doing all the time anyway, is shooting in RAW format. Although the file sizes are much bigger than jpegs, RAWs hold all the image data captured from the camera’s sensor and that includes more image data of the darker areas and the highlight areas. Thus, image data can still be pulled out from these areas in post-processing.
- Another thing you can do is shoot multiple exposures and it’s something that I do all the time in landscape photography. I usually shoot three exposures; one close to the optimum exposure, one slightly darker, and one slightly brighter. That way I have a far wider dynamic range of image data and in post-processing. I can use these three images to provide a final image with a wider dynamic range. Just remember that when doing this post-processing, try and keep the images as realistic as possible because it is easy to make them look unnatural.
- If you are finding there’s too much contrast between the bright sky and the darker foreground area another thing you can do is use a neutral density grad filter across the sky. This can help to darken down the sky and balance the exposure between the sky and the foreground.
Unifying the Colours
As I said, another problem that you can get is that you can get an awful lot of conflicting colours that are illuminated by the bright, white light. This may be what you want, but more often than not finding a way to unify the colours so that they are more analogous to each other can provide a more visually pleasing image.
- One way to unify the colours in your image is to put a coloured filter on your lens when shooting. This will tint all the colours and bring more harmony between them. The downside to doing this is that it tints all of all the colours going to your camera’s sensor and the original colours can’t be brought back out. It also tints all the whites too.
- Another quick fix for this is to alter your camera’s white balance settings when shooting. Again, this will provide more unity to the colours, but the downside is it will alter the white point as well and thus the whites will be tinted. However, if you’re shooting in raw, white balance settings are added afterwards when it’s converted to jpeg. Thus, you will still have all the underlying image data available if you do it this way.
- The last and most cumbersome way to deal with this is to do it manually in post-processing. Most photographic software such as Lightroom and Photoshop will allow you to alter individual colour ranges and change the colours within these. This gives you the most control and also helps you maintain the white point within the image all while retaining the underlying image data. However, this is by far the most difficult way of doing it and the most time consuming.
Unflattening the Sky
Bright sunny days often bring with them flat cloudless skies and these are very boring in a photograph. So what are some of the things we can do about this?.
- One thing you can do is just shoot your photo with less of the sky in the image and more of the foreground. In addition, you can take existing images and just crop more of the sky out in post-processing. Although this is easily done, it may not result in the composition that you want.
- Another thing you can do is look at the composition of your photo when you’re shooting and maybe bringing more elements which will help to break up the sky. For example, there may be some tall trees which you can bring in your photo that would help to break the flat sky up.
- The last thing you can do in post-processing is just stick a new sky on which has more detail in it. I have covered this extensively within this site and there are tutorials to show you how to do it if you wish to go down this road. However it isn’t that easy and it can be quite time consuming.
As you can see there are upsides and downsides to shooting in strong sunlight. When you’re out on a bright sunny day, things look good to your eye, but the limitations of the camera mean that there can be some problems when shooting in this strong light. Hopefully I have been able to give you some insight and guidance in a how to handle photographs if you choose to shoot at high noon.
Thanks for Reading, Neil


Leave a comment