
Here is another post-processing tutorial.
I was out in the hamlet of St Vigeans just outside Arbroath in Scotland. In it’s centre it has a wonderful church perched on a small hill surrounded by an old graveyard. Although it sits in an elevated position, good angles to take a photograph aren’t that plentiful, with many views slightly obscured by trees and other surrounding features. So, I decided to get photos from inside the graveyard using a wide angle lens to fit everything in.
Unfortunately, it was raining the whole time I was there and the sky was dull and flat leaving the images looking fairly uninspiring. But since the main subject of the photo, the church, is such an interesting building, I thought it would worth processing one of these photos.
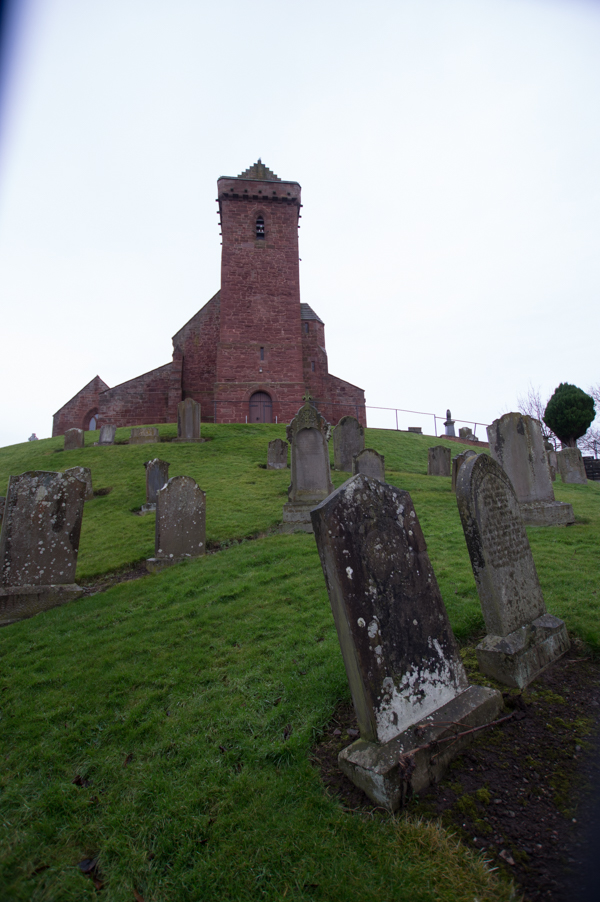
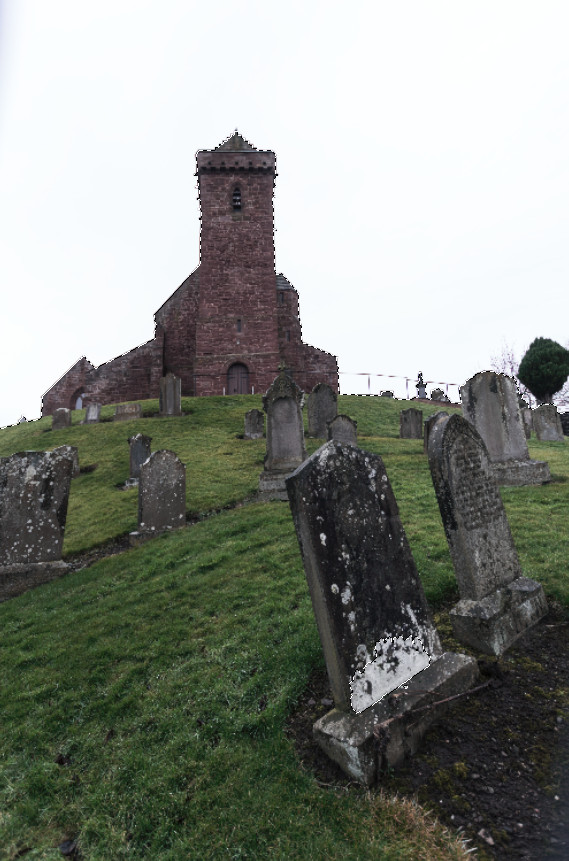
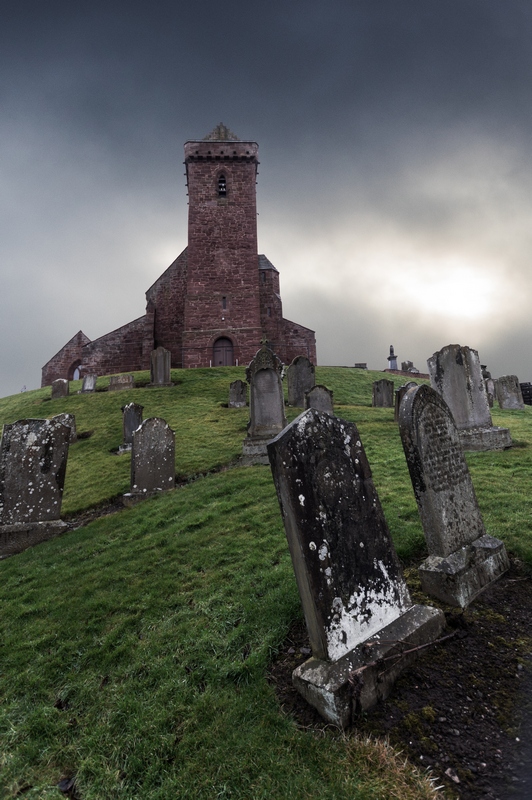
Here is the photo I have decided to use. Although I like the composition, with the headstones pointing towards the church, there is a lot of work to do on this photo.
Where to take this Photo?
The image is dull and flat so I think it lends itself to a fairly dark, moody, even creepy interpretation. Here is a list of the main things I have initially identified to do with this photo:
- The sky is a wall of white. Although I took multiple exposures, they all came out with the sky looking the same. There is still some detail in there but very little and it isn’t worth trying to tease it out. As such, I will have to transplant a new sky into the photo.
- The photo was shot at 10mm with a wide angle lens. As such there is quite a bit of distortion in the image. Although these distorted angles help in some way to create a creepy atmosphere, I feel the church itself is too distorted and it could do with straightening.
- The lens hood was on squint which has given the image darkened corners, especially in the top-left and bottom-right of the photo. Oops! That will have to be corrected.
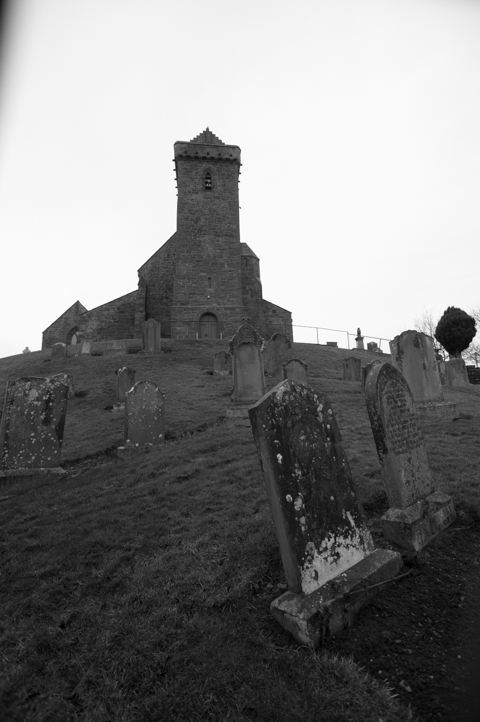
- The image is very flat. There is very little tonal variation as you can see from this B+W tonal map below. I will have have to try and build some tonal variance into it to make it more interesting.
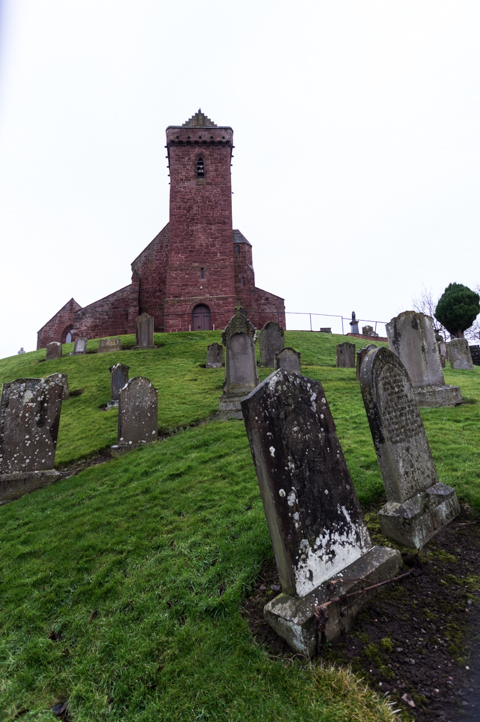
- The colours are quite saturated, especially the green of the grass. These will have to desaturated if I want to enhance the dark atmosphere. However, as green and red are complimentary colours they create a strong contrast between the church and the grass. This is beneficial to the image as it helps emphasise the church, so any colour alterations I do, I don’t want them to affect this too much.
This is my basic roadmap for processing the image, so lets get started.
Working With Lightroom
I always do the initial work in Lightroom (LR) as it lets you work on the RAW file, and all the image data that contains.
Undistorting
LR has some tools for correcting distortion. Although they don’t have the flexibility of Photoshop’s (PS) transformation tools, they are quite powerful and easy to use. I apply the lens correction settings, then use the guided transform tool to straighten the lines on the church. It now looks more square but thankfully the headstones still have that distorted appearance which I like.

Adding Contrast
I would really like to add the new sky just now but LR doesnt work with layers so that will have to be done in PS. So I will get the exposure and colours altered before importing into PS.
As I can’t see how the image will look with the new sky, trying to judge the exposure of the foreground can be a bit hit or miss as your eye gets tricked by the white sky. So, I leave the exposure as it is and boost contrast.
Toning Down the Colours
The exposure and contrast changes have further saturated the colours of the grass and church. I want to desaturate these just now before moving to PS. Again this is a bit hit or miss without seeing the sky.
I desaturate the overall colours and push the greens more towards red to slightly reduce the contrast between the grass and the church. I don’t want to overdo this as I want to retain some of the contrast between the complimentary greens and reds.

Now that’s done I can import into PS. Any further alterations to exposure and colour can be done in there once I have added the sky.
Sky Stitching
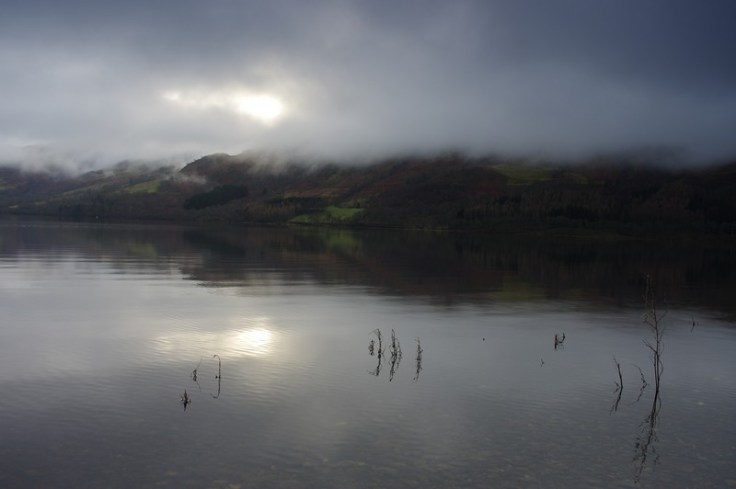
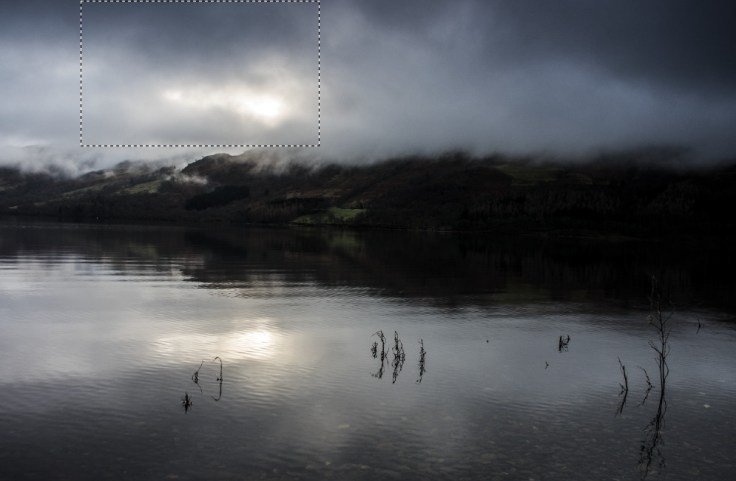
Now I have to add a new sky to the image. This has to be done in PS rather than LR as it lets you work in layers. However, the first thing I have to do is find an image with a sky I can use. As I want to create a dark atmosphere, I need a stormy sky with plenty of texture to it.
I found this one which I will use. It has plenty of texture and there is a lot of sky I can cut out to use.
Processing the Sky
Before stitching it on, I want to reduce the exposure and boost the contrast first to give it a really dark, moody appearance. I then select a section of the sky to use.
Stitching it In
Now I have my chunk of sky, I paste it as a new layer into PS and resize it to cover the area I need.
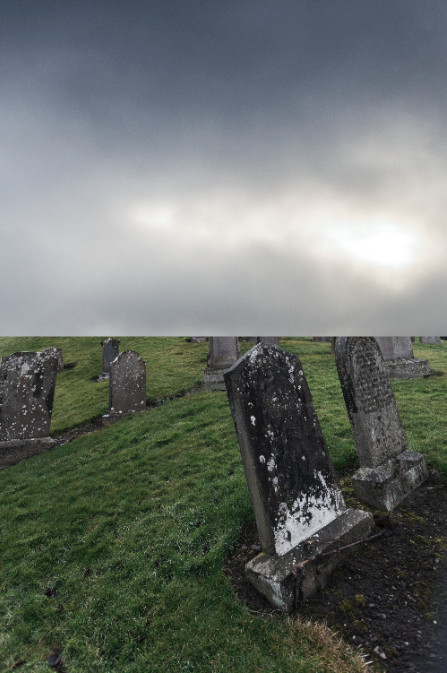
I then make a selection around the church. Because the sky is white, the ‘quick select’ tool works well. I then refine the selection to make sure it is tight to the edges. I have left the selection off the tree to the right as I don’t want it in the photo. It also hasn’t selected the handrail to the right of the church. I will just leave that out due to the amount of aberation on it.
Now I create a layer mask from the selection and Hey Presto, the sky is in place.
Now, I will manually refine the mask to make sure the edges are ok.
Balancing the Exposures
Now that the images are stitched together I can see it looks a bit unnatural. The church and foreground look too light compared to the sky. So I will now try and balance them. As they are two separate layers in PS, I can work on them in isolation.
I darken the foreground slightly and darken the shadow areas of the clouds also.
Next, I do selective dodging and burning to darken to lighten and darken specific parts of the image. I lighten the steeple of the church to add emphasis to it and darken around the edges of the graveyard to keep the eye drawn to the centre of the image.
Colour Control
Although I desaturated the colours earlier, now that the sky has been added the colours look a bit of a mess. The blue in the sky, the red of the church and the green of the grass all clash too heavily.
I desaturate all the colour from the sky. Push the red of the church towards yellow and desaturate slightly. I also push the green of the grass towards yellow and desaturate slightly. This helps unify the colours and also adds a moodier feel with the desaturation.
Unvignetting
Remember back with the initial image there was darkening in the corners due to the lens hood being squint. Well, most of them have been dealt from the sky stitch. However, there is still a patch in the bottom-right corner which is evident. This is quickly removed using the heal tool.
Vignetting
Now that the unwanted vignettes are gone, I will add my own vignette to draw attention into the centre of the image. There are many ways you can add vignetting. My current favourite it to use a levels adjustment to make the image very dark then mask it through to the areas I want.
Finishing Touches
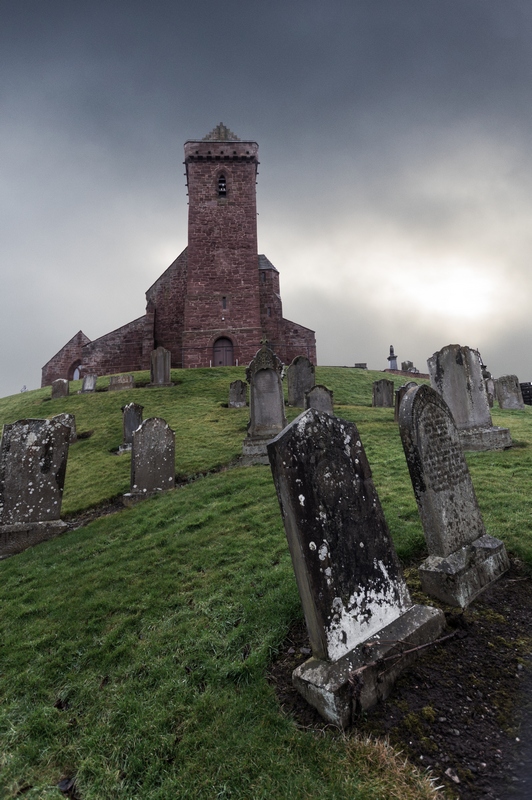
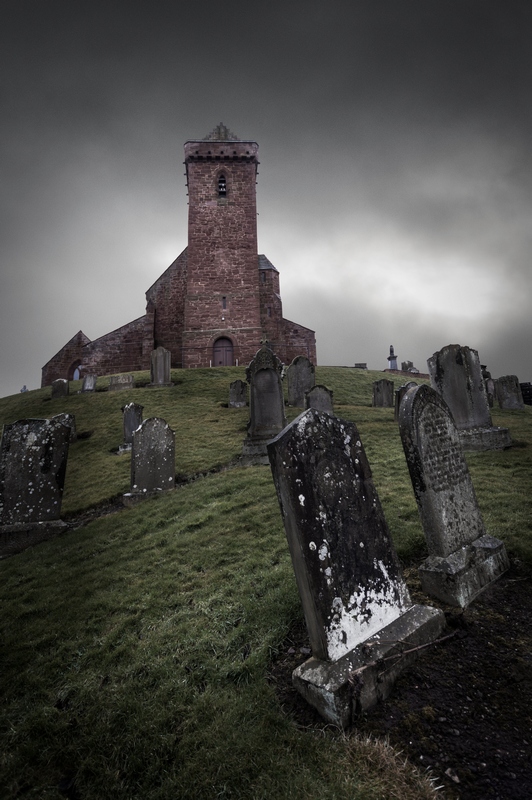
To finish off, a bit of noise reduction in the sky, a bit of sharpening in the foreground and one small final contrast boost.

The initial flat, washed out image of the church now has a dark, sinister appearance, almost like something out of a horror movie.
Thanks for Reading,
Neil


its amazing how clean the cut out around the church is. i cant wait to give this a go! thanks for the tutorial.
LikeLiked by 1 person
Thanks. PS quick select tool can be a bit hit or miss. But when the sky is a flat block of colour it usually works quite well. You still usually have to do a bit of refinement to the selection / mask afterwords but that doesnt take too long.
LikeLike