
Often when taking a photo you get interfering background elements which detract from the focal point of the photograph. Depending on the subject matter and location, these can often be eliminated or their impact reduced in some way. However, there are many cases where there is little you can do about interfering background elements at the time of taking the photo, and you then need to make changes in post-processing.
In this post I want to look at reducing the impact of interfering background elements using post-processing.
Can’t get rid of an Interfering Background
The problem of an intrusive background issue is prevalent in all types of photography but in landscape photography it is probably the most problematic to deal with at the time of shooting, for a number of reasons:
- You cannot move elements within your photograph. In landscapes, you are shooting the land, buildings, the sky etc and more often than not, none of these can be moved to suit your photograph. You can of course move yourself, but this may often not give you the shot you want. Here is an example. The tree in the park was really interesting but no matter which angle I shot it at, the background always interfered too much and spoiled the shot. None of the elements in the photo could be moved at all.


- You cannot manually illuminate elements within your photograph. If you are shooting smaller subjects such as people, using a flash gun or strobe can be an excellent way of isolating them from the background by illuminating them and leaving the background dark, or by even illuminating them a different colour. However, due to the large scale of objects within and landscape, and their often significant distance from the photographer this option is not usually available. In this example the castle doesn’t stand out much from the background. It would be impossible to manually illuminate due to it’s scale and distance.

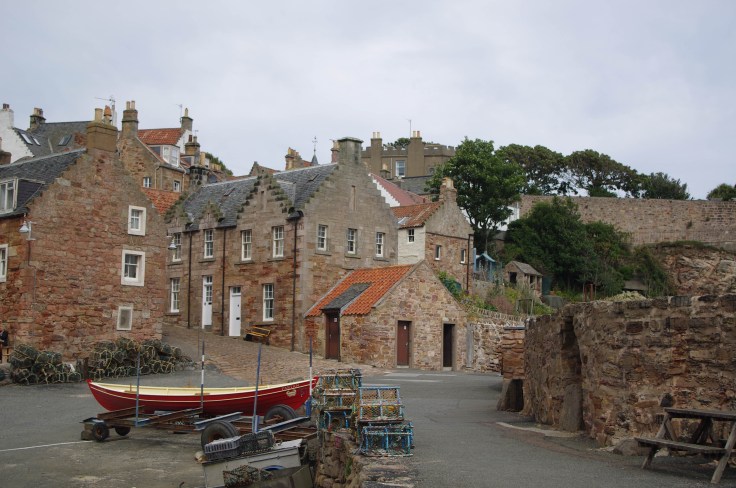
- Depth of Field is too large. A great way of isolating a subject from the background is to use a shallow depth of field and throw the background out of focus. However, when shooting landscapes, because the focal points of the photos are so far away from the photographer, and because you are often using short focal lengths, even using a small aperture results in too much depth of field, leaving foreground and background both in sharp focus. The photo below is a good example. It would be nice to isolate the boat and throw the background out of focus slightly but even at f/4 everything is sharp.
These, techniques can often be used in other styles of photography to help reduce the impact of an invasive background. However, they are often of little use in landscape photography. Thus, often the only option that is left is to use some post-processing techniques to help.
A Post-Processing Example
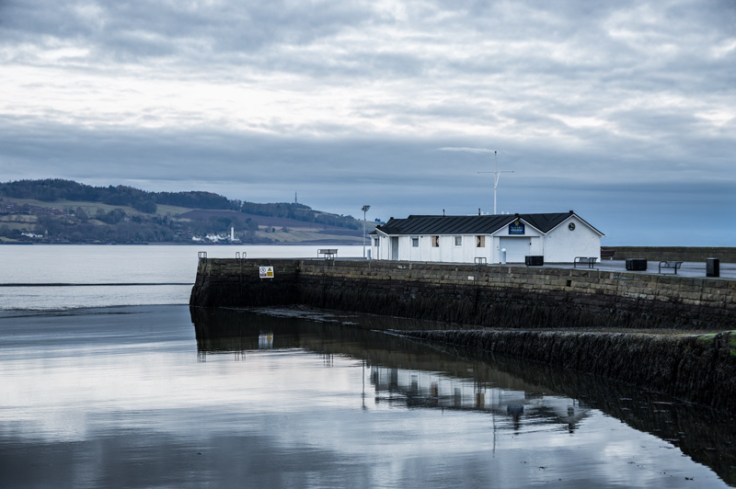
Here I have a photo that exhibits this problem. The main focal point of the photo is the shed on the pier but the hills in the background interfere significantly with this, reducing the visual impact of this element.
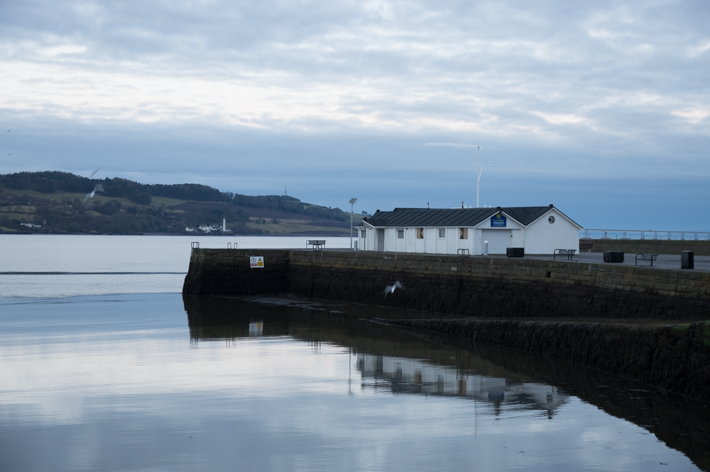
I was little I could do to try and reduce it’s impact. I shot at f/3.2 but it had little effect on throwing the background out of focus. I couldn’t move any of the elements within the photo and the composition didn’t work by moving myself around. There was also no way I could add extra illumination to the shed.
However, I like the photo and I think with some post-processing I could reduce the impact of the background and put more emphasis on the focal point.
Getting the Photo Ready
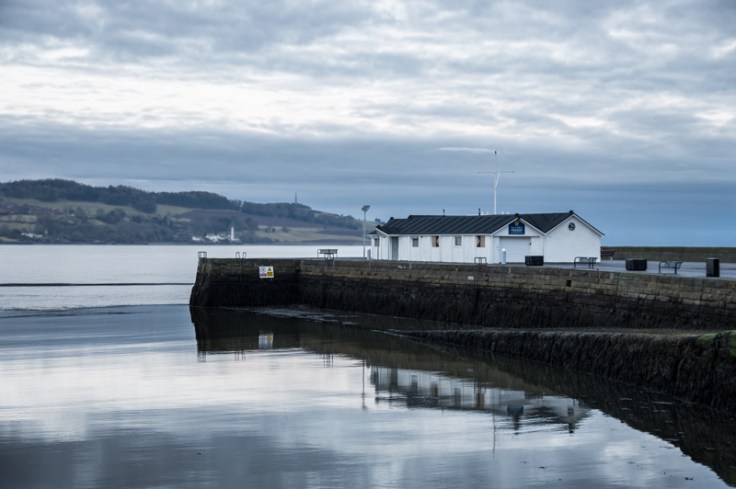
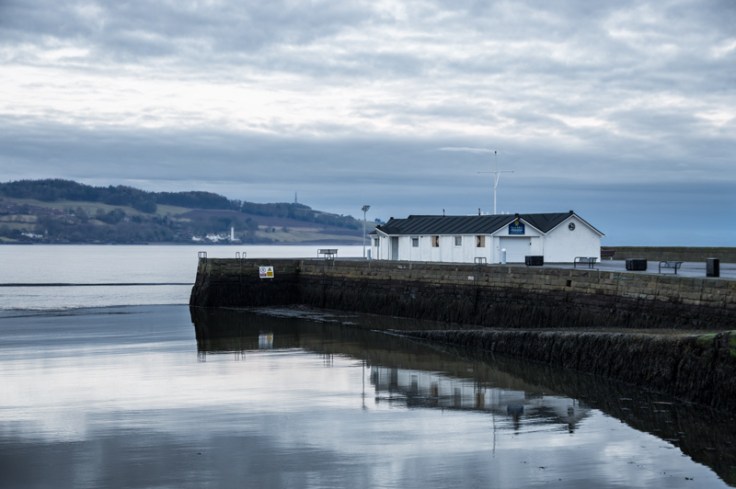
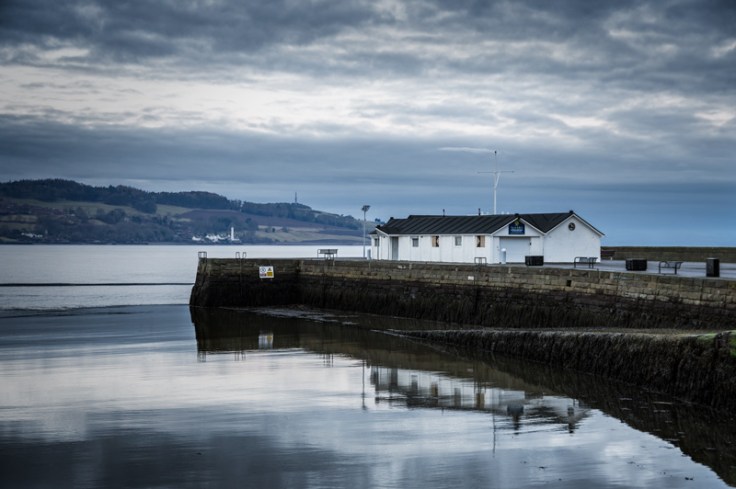
In this post, I will take the post-processing to a completed final image. Therefore, I will first do a bit of processing to get the photo ready to start manipulation on the background.
I have lightened the overall image, then boosted the contrast, moreso in the sky. I have also removed the gulls which don’t add anything to the image.

Identifying the Problem Areas
Now I have a base image to work from, I will identify the problem areas in the background. I have highlighted them in the image below.

- There is the bridge in the background on the right of the image. It looks like it is sitting on the wall of the pier.
- There is the invasive hills which are too dominant in the image and detract from the focal point.
I will now try and soften the impact of these elements.
Removing the Bridge
The bridge in the right of the photo looks a bit silly as it appears perched on the wall of the pier. It really adds nothing to the image so I think it is best just to remove it completely. Using the clone and heal tools in Photoshop I remove the bridge.

Dealing with the Hills
I now I have to deal with the bigger problem which is the hills in the background. There are a number of options available here.
Removing the Hills
The first is to remove them completely. I have very roughly done this to show what it would look like.

I don’t really like this too much. The composition appears too weighted to the right of the image as the hills provided some degree of visual balance. The scene also loses context with the hills removed. Thus, I won’t progress down this route.
Altering the Luminosity and Contrast in the Hills
The hills appear dominant because of their strong contrast between the sky, and lack of contrast with the foreground pier. Thus by lightening them slightly and reducing their contrast I can help reduce their impact. Using a careful selection in Photoshop and then using curves adjustments I can achieve this.

I feel this works well. It reduces the impact of the hills and also gives a nice impression of distance recession due to it’s more faded appearance.
Blurring the Hills
To reduce their impact further I will add a slight blur to the hills to simulate an out-of-focus bokeh. I create a duplicate layer and then add a small gaussian blur in Photoshop. I then reduce the opacity of this layer slightly. This creates an ‘Orton Effect’ which it now seems to be called, which is a slight blurring but without destroying too much of the detail.
This also works well and does not look unnatural or out of place but does further help to reduce the background’s impact. It also helps emphasise the distance recession between the foreground to the hills.
Altering the Hue and Saturation of the Hills
Another way of lessening, or increasing, the impact of an element within your image is play to around with it’s colour. By using analogous or complimentary hues, and by altering saturation levels you can alter the contrast of an element with it’s surroundings.
As the surrounding, sky and water is blue, I push the hue of the hills towards blue using a colour balance adjustment. I also give the hill’s new hue a saturation boost which helps bring out that blue tone.
Now, the colour of the hills is more analogous with the colour of the surrounding sky and water, making the hills stand out less.
I now feel I have done enough to the hills. I have used a number of different techniques which have all helped to reduce their impact. And you can now see the foreground elements are jumping out from the image a lot more.
Dealing with the Foreground
Just as we can directly alter the background to help reduce it’s intrusion, we can inversely alter the foreground to increase it’s impact.
I will use similar steps to those above to increase the prominence and impact of the pier and shed in the foreground.
Altering the Luminosity and Contrast
I will use selective dodging and burning to lighten the shed and pier, and their reflections, to help bring them out from the background. I will also increase the clarity and contrast of these foreground elements.

Sharpening up the Foreground
I used a blurring technique to help minimise the impact of the background. Conversely, I will add emphasis to the shed and pier by sharpening them.
Altering the Hue and Saturation of the Shed and Pier
Similarly as to how I dealt with the hills, I will alter the colour balance of the shed and pier and their reflections slightly. As yellow is complimentary to blue, I push their colour balance slightly towards yellow which makes them stand out from their blue surroundings more.

These are all the steps I want to do on the foreground elements.
Finishing Touches
To finalise this image, I just want to add a few finishing touches. I will add a vignette to further focus attention on the shed and pier. I will also do some selective noise reduction on to the background elements.
And here is the final image.
As you can see, the impact of the hills in the background has been minimised significantly and the foreground elements now pop from the photo. All this has been done with only subtle intervention, and thus it looks natural and not artificially manipulated.
A comparison of the before and after highlights this change.


Conclusion
I hope this tutorial has been helpful in showing post processing techniques that can be used to reduce the impact of an invasive background.
So, if you have a scene which you think is spoiled by the background and you can’t do anything on location to deal with it, all may not be lost. Take the photo and try a few of these post-processing techniques and you may still be able to get a great image out of it.
Thanks for Reading,
Neil


Leave a comment