
In a previous post I looked at stitching a new sky into a photo. In a similar vein, I now want to look at how to process the existing sky within an image whilst keeping it isolated from the foreground.
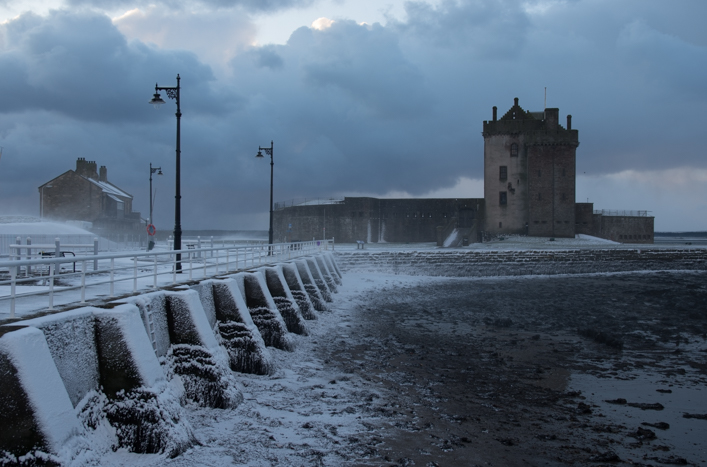
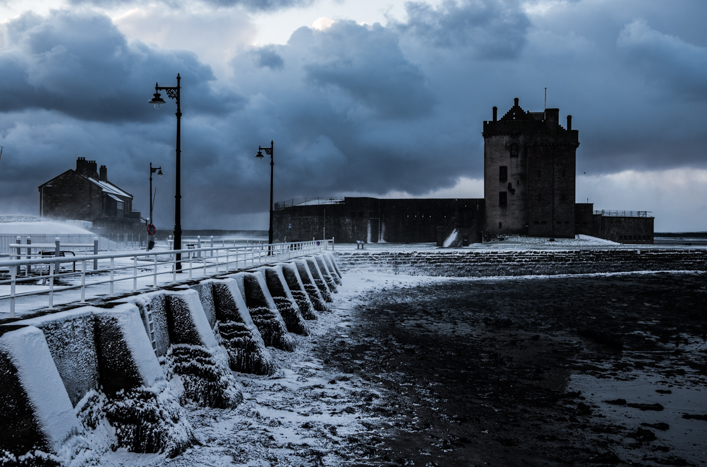
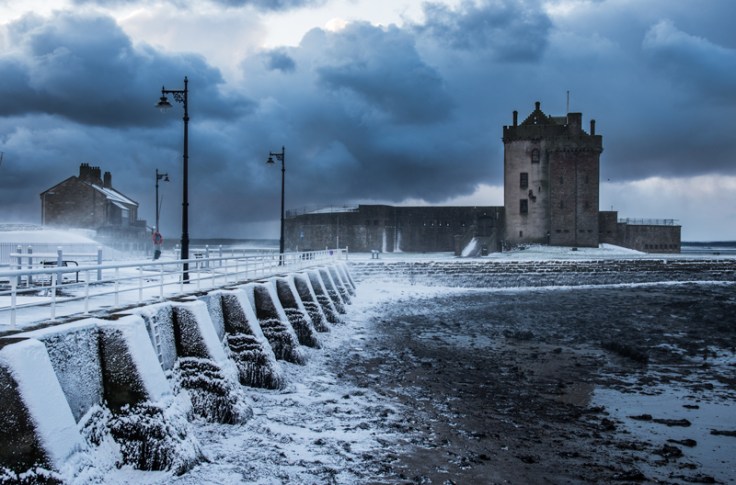
I have this photo of Broughty Castle in Scotland, taken on a stormy winter’s morning. The photo has some stormy clouds in the sky but they have come out quite flat and featureless in the capture. I want to look at how to how to isolate the sky from the rest of the image, which will allow me to add some detail and drama to it without affecting the foreground. I then want to go on to process the rest of the image to compliment this.
Isolating the Sky
There are numerous ways in which you can isolate the sky within your image to allow editing of it separately. Which one is most appropriate will depend on the image your are editing and the software you have available, so I will give a brief overview of some of the techniques before working on the image above.
Local Adjustment Tools
You can use localised adjustment tools to edit specific areas of your photo, such as Lightroom’s adjustment brush or graduated filter. These allow you to manually paint in the area that is to be adjusted. These can be ok if, for example, you have a straight flat horizon line or just want to alter a small area within the sky. However, they can be very imprecise and time consuming if you have detailed hard edges around the sky such as in the photo above.
This is not a technique I would recommend but if you are only working in a package such as Lightroom which doesn’t allow selections and layers, you don’t have many other options.
Select and Mask
If you are using Photoshop or GIMP you can use their selection tools to isolate the sky. From the selection you can then create a layer mask which means that adjustments will only affect that area. This is a good way to work as the precision of the selection tools means you can isolate the sky from complex objects then allowing you to edit the sky and foreground independently. However, it can be time consuming making and refining the selection.
Luminosity Masks
Another option is to use luminosity masks. These are predefined masks based on the luminosity values in the image. These are very quick to use and great if there is a considerable difference in luminosity values between the sky and foreground, which is often the case in landscape images. Moreover, they are effectively self-feathering due to how the masks are created meaning you don’t get the jarring edges which can be evident using other techniques. These can also be really useful if you have very complex objects intersecting the sky such as tree branches which could take a long time to select using selection tools.
Working With Multiple Images
When isolating the sky I will use either ‘select and mask’ or ‘luminosity masks’ due to the greater level of precision and the better quality finish they give. However, there is an issue with this due to the limitations of the software.
Lightroom allows you to process the RAW file directly meaning you get access to the wide dynamic range data contained within it. This is useful in helping minimise noise picked up from editing. The problem with Lightroom is that you can’t use luminosity masks with it and it doesn’t have the precise selection tools that Photoshop does, meaning that it is difficult to get precise adjustments.
On the other hand, Photoshop does have these selection and mask tools but works on the image as JPEG meaning it doesn’t have the dynamic range data that the RAW file does.
The solution I use is to edit the photo in Lightroom into two separate images and then merge them together in Photoshop. I process the image in Lightroom twice, once for the sky and then again for the foreground. I them import these into Photoshop as two separate layers and use it’s selection and mask tools to isolate the sky and foreground from each.
This technique gives me the best of both worlds as it allows access to the image’s RAW file data initially and also allows precise isolation of the sky and foreground. This is the technique I will use for this image.
Processing the Sky
I first want to process the sky in Lightroom. As I have said, the sky lacks detail and drama so I want to look at boosting this.
Adding Contrast
The first thing I want to do is add contrast to the sky. Lightroom has three contrast adjusters: Contrast, Clarity and Dehaze. These all perform slightly differently so I use a combination of all three to boost the contrast in the sky.
The sky now has much more contrast and detail. However, the main bulk of the cloud still is quite flat and also very dark. I now use the curves adjustment to boost contrast further and lighten the cloud slightly. The curves adjustment allows you to alter the curve by selecting specific tonal areas within the photo which is useful in these circumstances.
Dodging and Burning
Now that the global contrast adjustments have been done, I now want to do some localised dodging and burning to enhance specific parts of the sky. Using the local adjustment brush I lighten and darken specific areas of the photo.
Colour Control
All this editing has increased the colour saturation. The sky now looks too blue for the image dark, stormy sky, so I will reduce the saturation slightly.
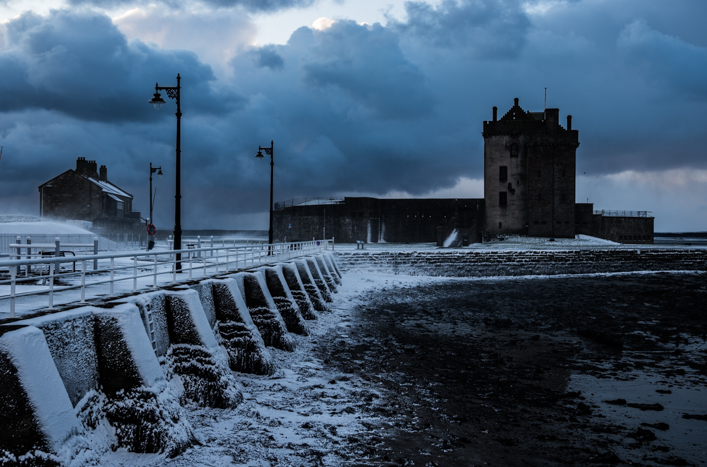
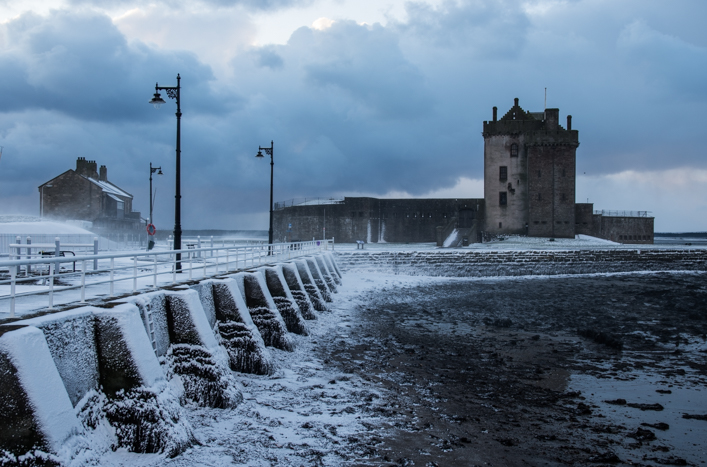
The sky now has a nice steely colour befitting of it’s stormy nature.
That is all I want to do with the sky in Lightroom, so I will now import this image into Photoshop.
Processing the Foreground
I will now go back to the base image and edit it for the foreground. As the foreground was mostly ok in the base image it does not require much processing. Just a slight increase in luminosity and a small boost to the contrast. I will import this into Photoshop as a separate layer.
Isolating the Elements
Now we have our two images, one processed for the sky and one processed for the foreground.


When using this technique it is hard to visualize how the two images will look once they are merged. Thus, by keeping the sky and foreground as separate elements adjustments can then be made to one without them affecting the other.
In Photoshop, I make the foreground image the base layer and sky image as a layer on top of that. I then use a luminosity mask to make a selection. Below is the luminosity mask I am using. Remember, white reveals and black conceals so only the lighter areas will show through.
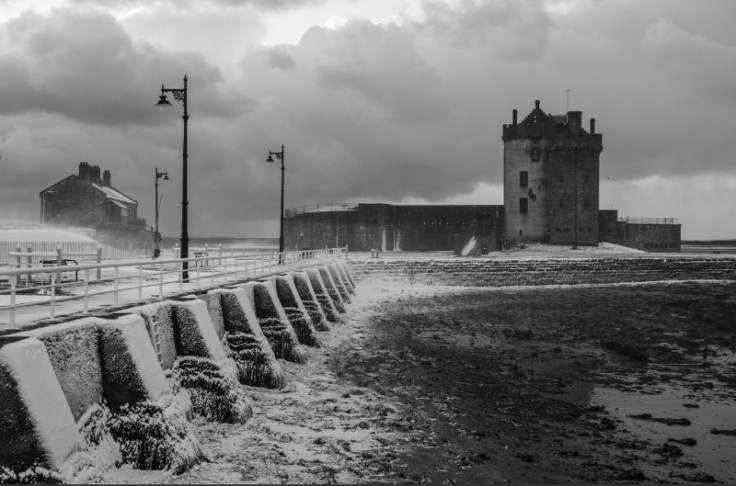
However I do not want this to affect the whole image so on a layer mask for the sky layer, I start painting in the areas I want it to affect, i.e. the sky. The luminosity mask ensures that sky areas, which are lighter than the foreground are affected by the mask and the darker areas aren’t. So I go around the edges of the sky next to the buildings with the luminosity mask selected. This ensures a smooth tonal transition between the sky and these complex edges. I then deselect the luminosity mask selection and paint in the rest of the sky opaque white to ensure it all shows through.
This may sound complicated but it is quite straightforward and quick to perform. Below is a copy of the resultant layer mask for the sky. Although it may look rough, it allows the sky and foreground to be edited separately with a smooth tonal transition between both. Don’t get me wrong, it is not a perfect cut out of the sky from the foreground. However, due to the complexity of the objects intersecting the sky, it is a quick and effective method which does not result in jarring edge transitions.

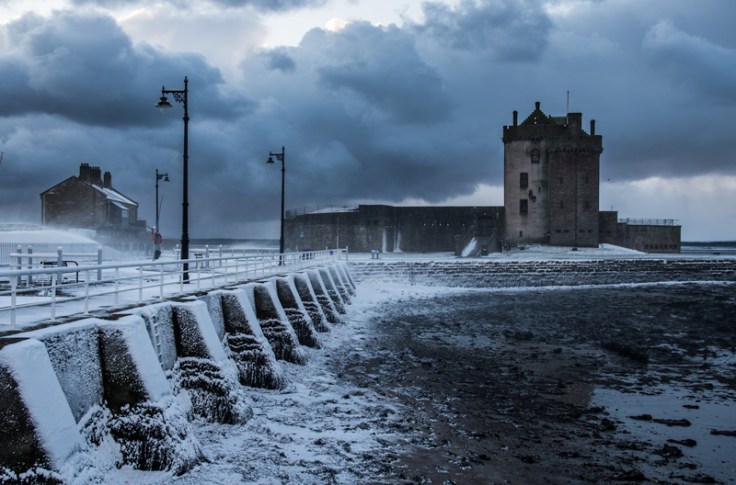
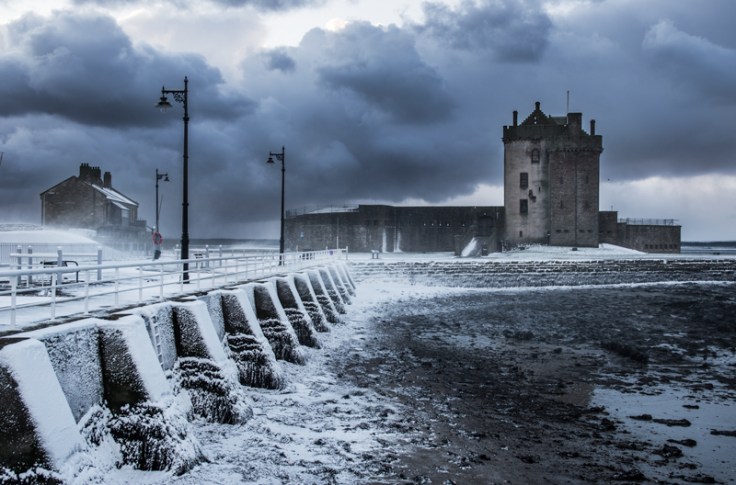
And here is the image with the sky and foreground together.
Further Processing
Now I have the image in Photoshop with the sky and foreground as separate isolated layers so I can now go on to do further processing of this image.
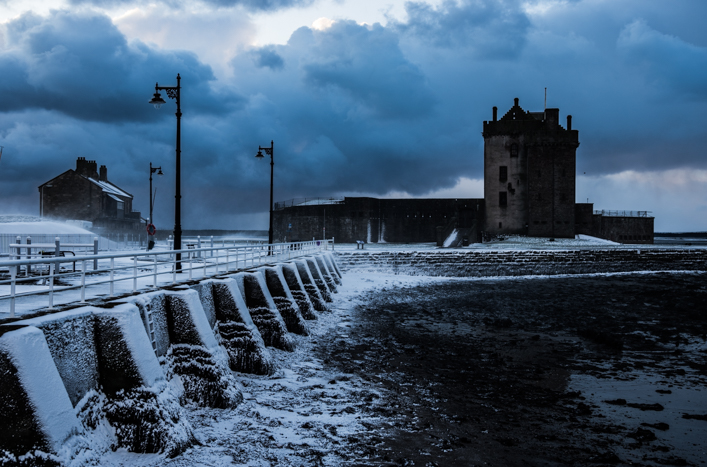
Balancing the Tones
The foreground still looks too dark so I boost the lights in the foreground using a curves adjustment. I also gives the sky’s contrast a tweak using a separate curves adjustment.
Balancing the Colours
The blues appear too saturated so I reduce the blue saturation considerably in the sky, and by a lesser amount in the foreground. The colours are quite unified in the image and have a cold blue tint to them, so they require little work.

Dodging and Burning
I now want to do some selective dodging and burning to further bring out the Castle as well as enhance other details such as the beach, pier and sky.
Vignetting
I now a subtle vignette around the image and slightly lighten the center part of the image.

Sharpening and Noise Reduction
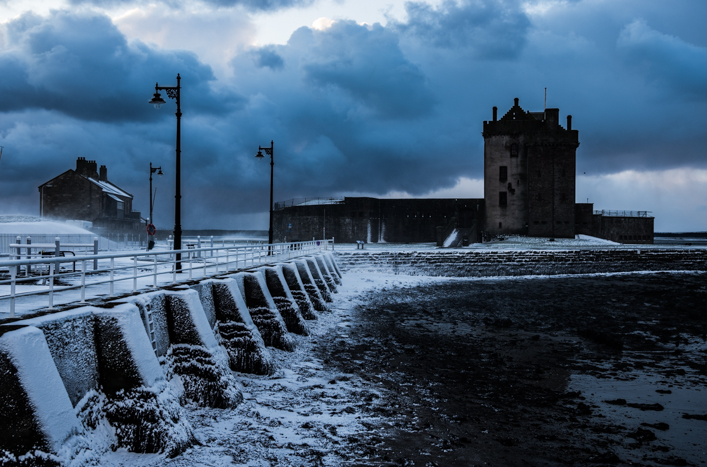
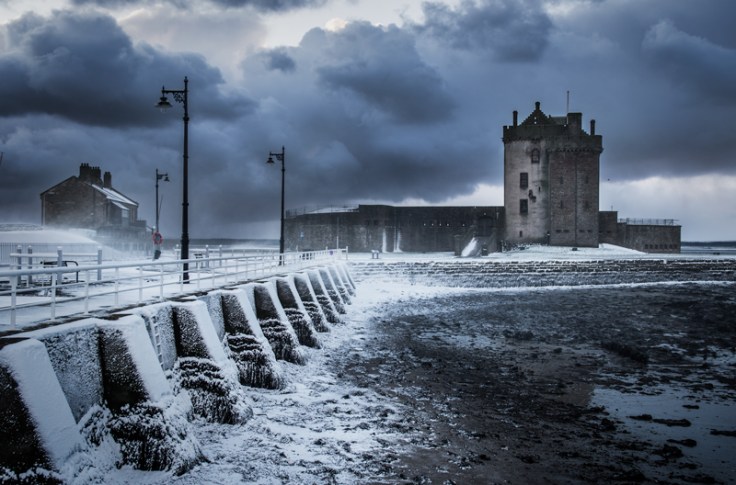
Lastly, I want to perform some selective sharpening in the foreground and some noise reduction in the sky. And that’s the image finished.
Conclusion
The initial image required a lot of specific processing done to the sky, and much different processing in the foreground. By isolating these two elements it made processing the image much quicker, easier and more effective. I hope this tutorial has been helpful in showing you how to do this and the benefits that can be gained from it.
Thanks for Reading,
Neil


Leave a comment