In Scotland where I live, winter days are short and the sun never rises very high above the horizon. Although that can provide wonderful opportunities for shooting dramatic shots when the low sun bursts through the skies, many days do not grant these opportunities. Too often you are greeted with dense cloud cover rendering not only the sky flat and uniform, but the subjects it illuminates the same.
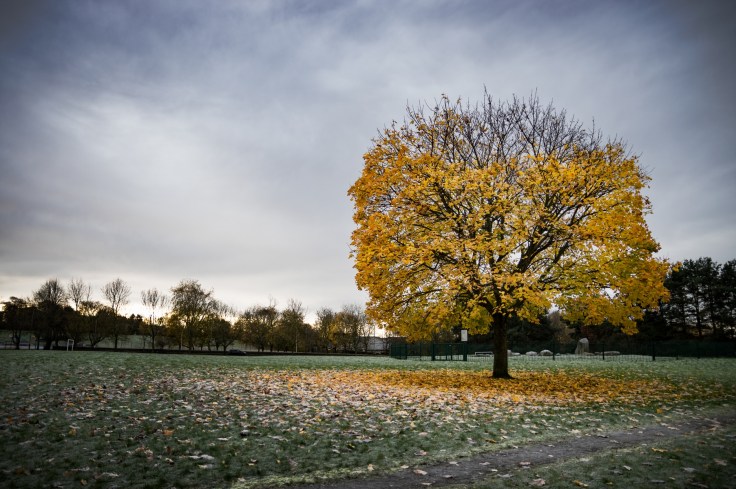
This shot I took at a local park shows just that. The sky was a flat blanket of cloud and the tree and foreground were flatly illuminated giving. what I find to be, a fairly dull, lifeless photo.
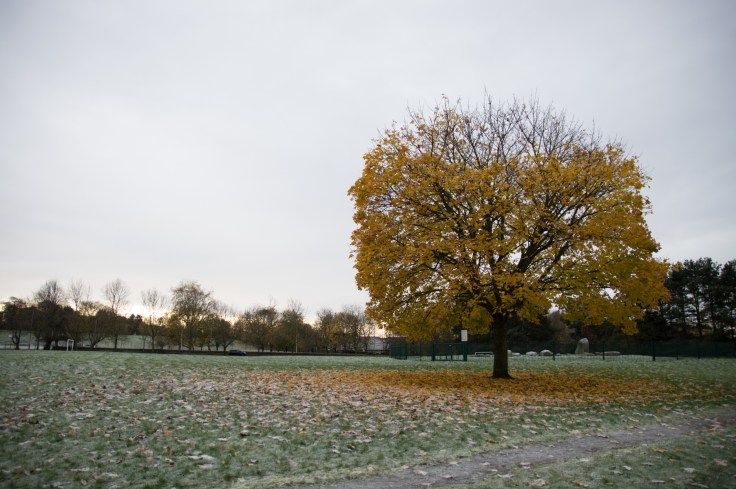
Although it is tempting just to bin such a photo, there is a lot more detail and interest locked into this photo than may first appear, it’s just a case of bringing it out with some post-processing. So I will run through some basic post-processing techniques to help inject some life back into the image
Playing with the Tones
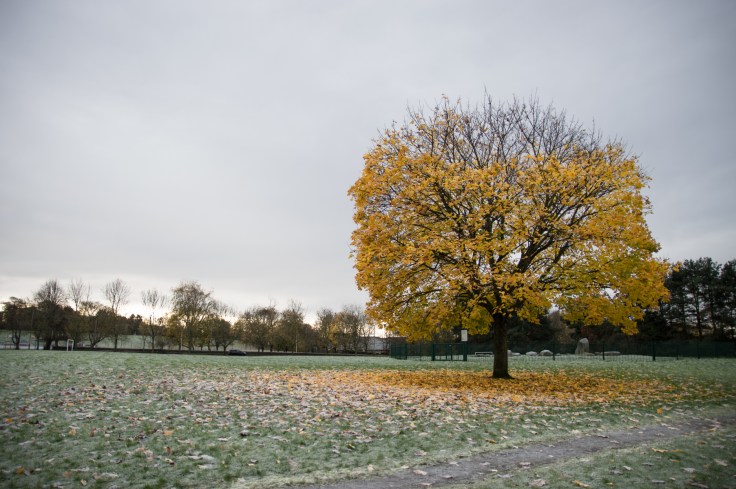
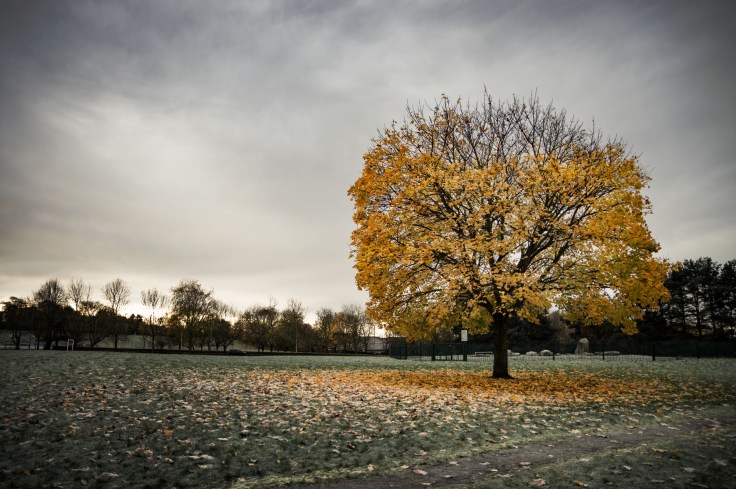
The first thing I notice about this photo, and it is a common issue with many landscape shots, is the sky is much brighter than the foreground. For the final image I would prefer slightly more of a tonal balance between the two.
So I use Lightroom to bring out some of the highlight detail in the foreground and also darken the sky slightly. The harsh contrast between foreground and sky is reduced and the tree starts jumping out from the photo more.
Increasing Contrast
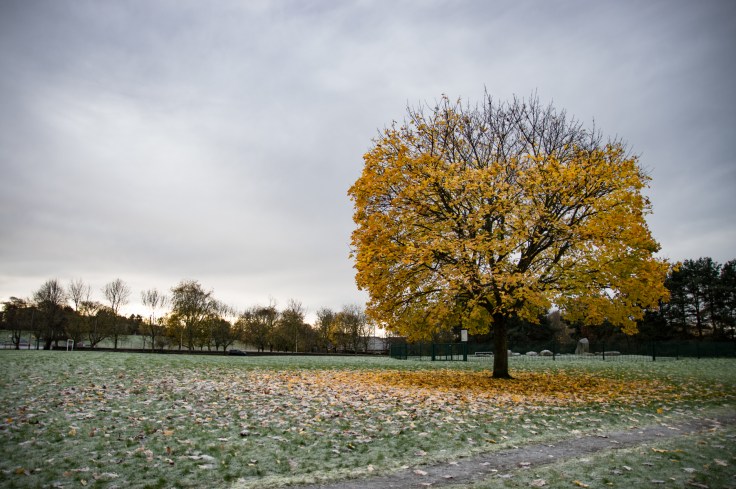
When shooting in dull conditions, the flat light can leave local contrast low because of the even illumination which makes objects appear flat and lifeless. So giving the contrast a slight boost should help alleviate this slightly. First, I boost contrast across the whole image using the dehaze and clarity tools in Lightroom. I also add slightly more contrast just to the sky. The image now has more pop to it. The flat sky now has some texture in it, as does the tree.
Picking out the Detail
Next, I want to try and add emphasis to the focal point of the photo which is the tree. To do this I will use Photoshop to some localised dodging and burning. Although you can do this in Lightroom I find Photoshop is more powerful and gives a greater level of control. I darken down around the tree and lighten up the leaves on and around the tree helping to draw the eye towards it.
Colour Grading
Now I am fairly happy with the tonality of the image, it’s time to look at the colours. During the processing of the sky the saturation of the blue has increased. As the image is depicting a dark winters day, blue in the sky really doesn’t suit it so I will take down the saturation of the blue. To do this, I will splice a sepia colour into the highlights of the entire image. As yellow is the complimentary colour to blue, it neutralises the blue in the sky, and by applying it to the entire image it helps unify the colours across the whole image.
I will also desaturate the greens in the grass slightly as I find them intrusive and distracting.
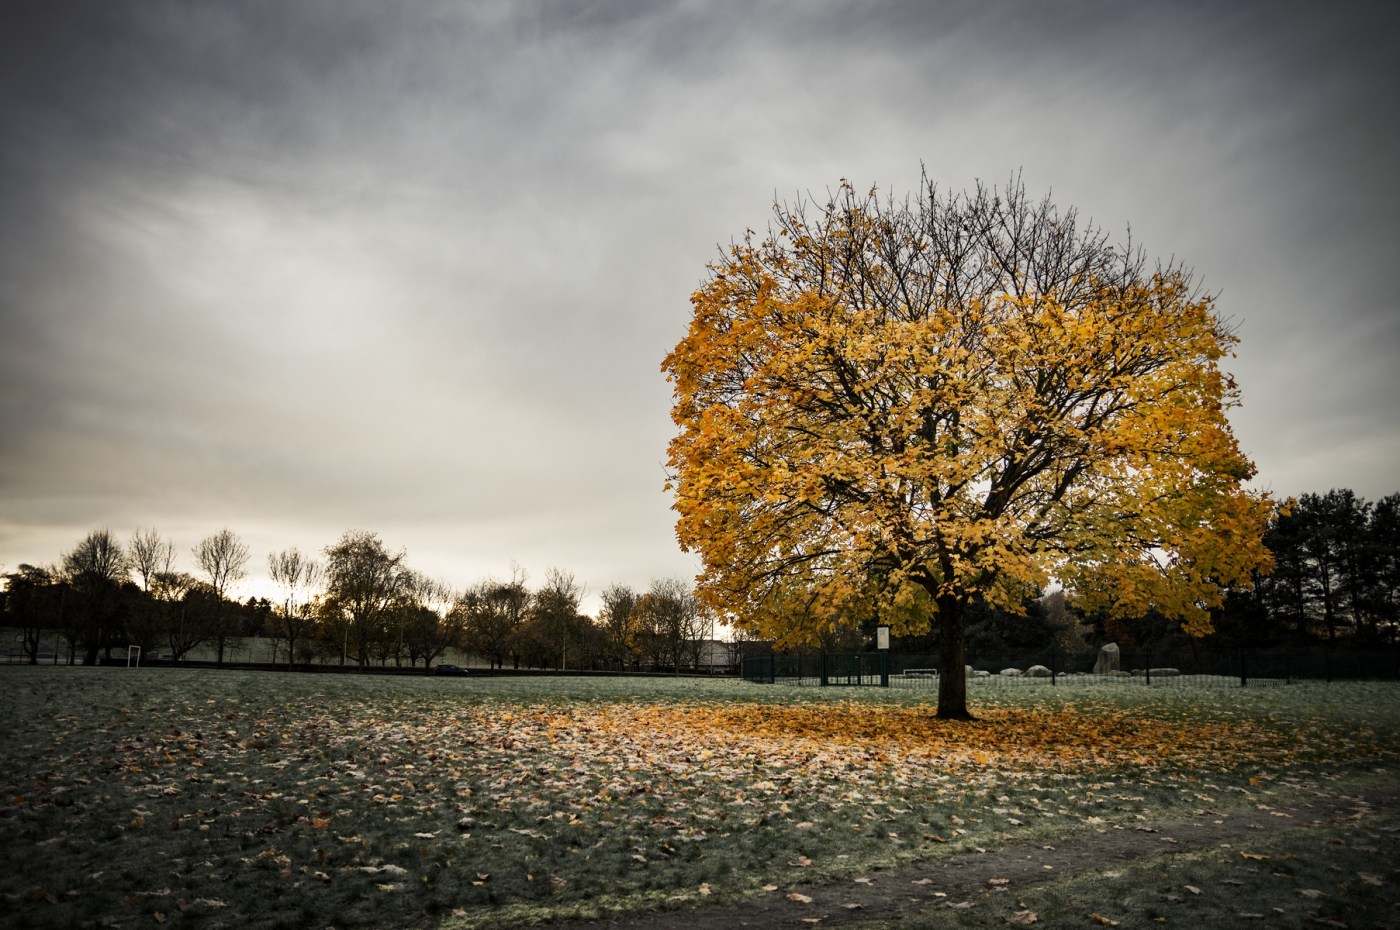
The result provides a more unified colour scheme which emphasizes the wintry mood of the photo whilst also adding emphasis to the focal point.
Finishing Up
So that’s it mostly it done. All it requires now is some finishing touches. I have applied some selective sharpening and noise reduction, given the contrast one final, small tweak, and added a slight dark vignette.
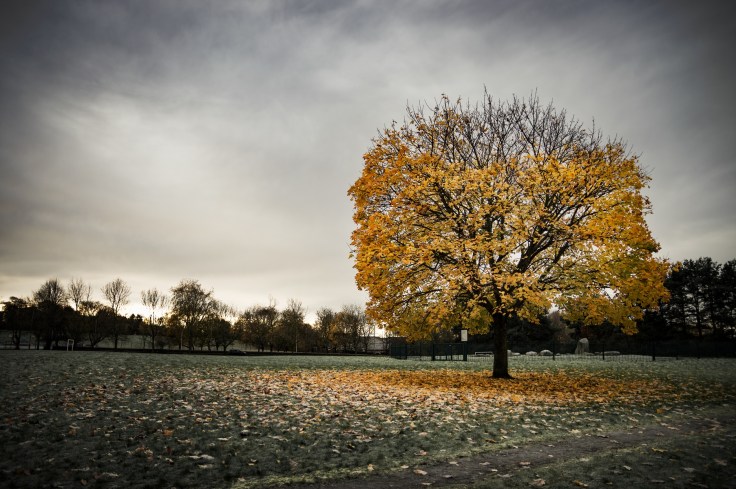
The final image, in my opinion, now has much more visual appeal. The sky and tree have added texture, greater emphasis has been placed on the focal point, and the colours suit the overall mood I want the image to project.
I hope you found this small tutorial helpful and I hope I was able to show how even flat, lifeless images can be transformed by applying some basic post-processing techniques.
Thanks for Reading,
Neil


Leave a comment