In the last post I introduced luminosity masks and explained what they were and how they work.
I now want to look at the most common and probably the most powerful application of these masks, and that is using them to do specific, targeted exposure adjustments within an image.
Exposure Adjustments Using Luminosity Masks
Because luminosity masks allow adjustments to target specific tonal areas within an image, they are ideally suited to exposure adjustments. So I will have a look at some ways this can be done.
Lightening the Lights
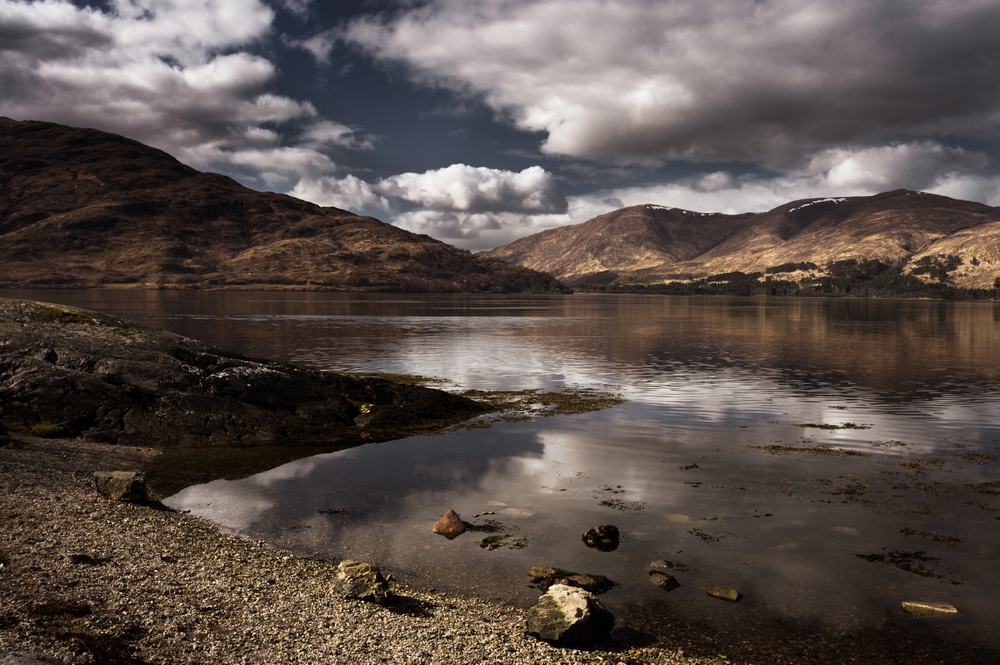
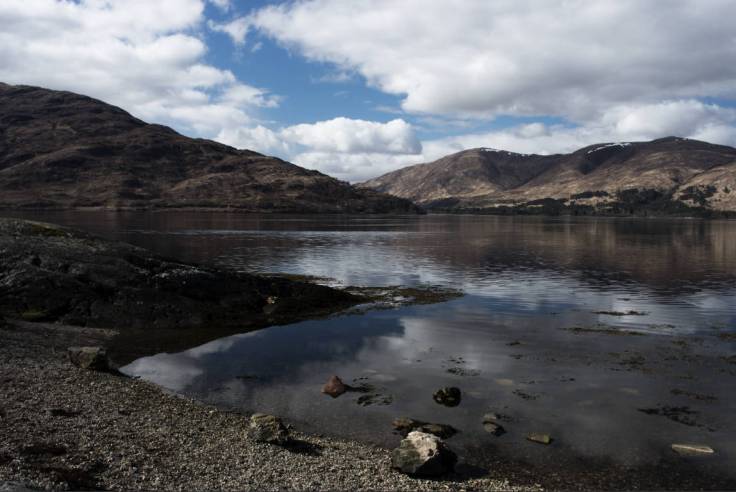
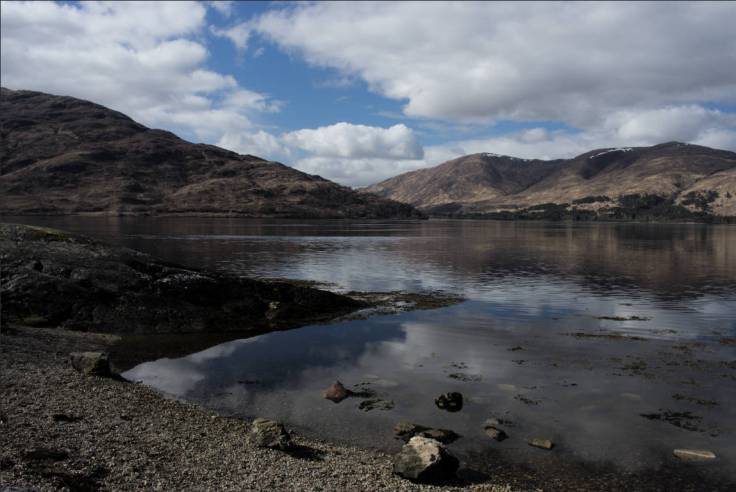
Here I have a fairly standard landscape photo. Hills, water clouds etc. Although it is a nice enough image it is tonally a bit flat. So I will use luminosity mask to target specific tonal adjustments in it.

I have used the Photoshop action to create a series of luminosity masks which are visible in the channels tab.
I now want to brighten the lighter areas in the photo, so I select a lights luminosity mask which allows the adjustment to target the brightest areas in the photo. Here is the lights (2) mask I will use.
Now with this applied as a layer mask, the adjustment will affect the lighter areas more than the darker areas. So I will add a curves adjustment layer, apply this as it’s layer mask and then adjust the curve to brighten the image.
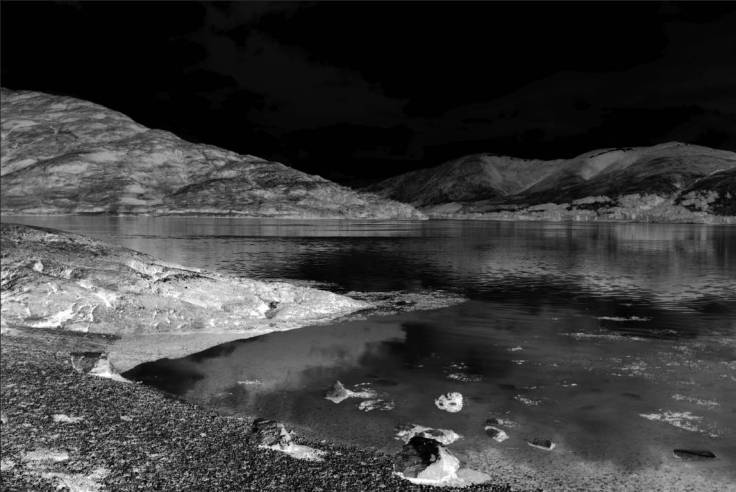
Here is the curves adjustment dialogue. Notice how the histogram only shows image data in the brightest sections, this is because the luminosity mask restricts the adjustment to this tonal range.
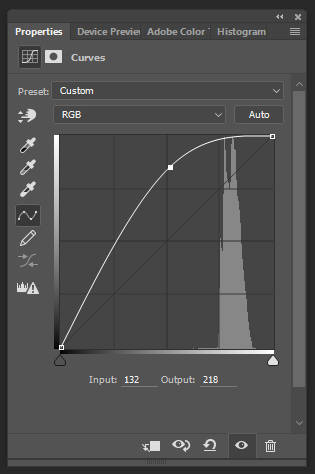
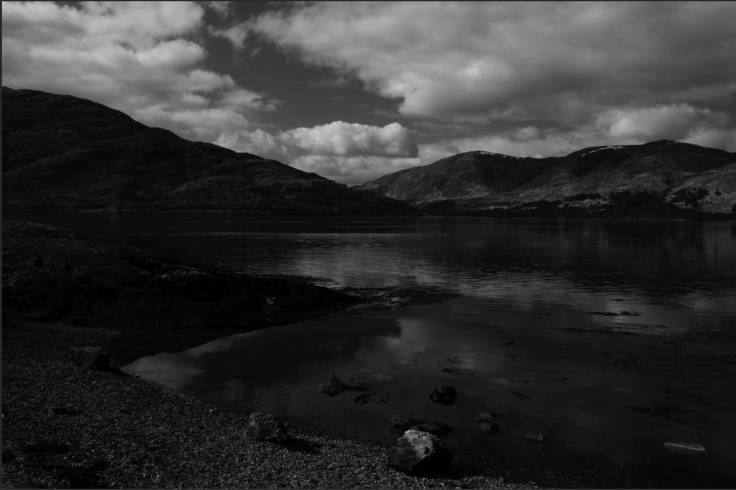
So I increase the luminosity using the curve and this is the result. The lightest sections of the image get lightened the most, and the darkest sections get lightened the least.
On the left is the original image and on the right is the image after the adjustment.


Darkening the Darks
In the same way as above I will now darken the darkest parts of the image further using a curves adjustment and a luminosity mask.
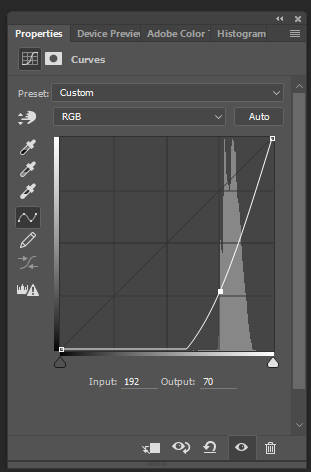
I will start with the base image from before, but because I want the adjustment to target the darkest parts of the photo, I will select a darks luminosity mask. Here is the darks (3) luminosity mask I will use. Notice how the darkest parts of the image are brightest in the mask, meaning the adjustment will affect these areas more.

Here is the curves adjustment I apply. Notice how the histogram shows only the darks being affected.
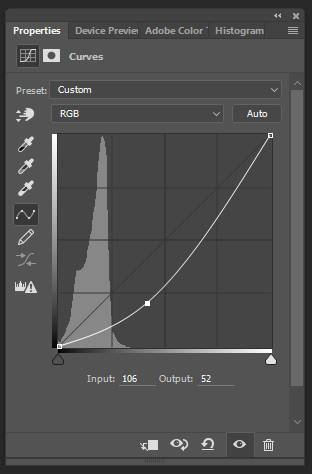
And her is the result. The darks are now much darker but the lights are mostly unaffected.


And here is the image with both the lightening and darkening adjustments applied.
Self-Feathering
Notice how the adjustments I made to the image above are seamless. i.e. there are not obvious hard edges where the specific parts have had their exposure adjusted. That is because luminosity masks are effectively self-feathering. Because these masks are based on the luminosity values of the base image and as such, when applied allow adjustments to affect these tonal areas to a varying degree, you get a smooth transition between the areas of adjustment, and those areas not affected.
This is one of the most attractive features of using these luminosity masks because you don’t get the hard and unnatural edges that can occur when using the dodging and burning tools, for example.
Darkening the Lights and Vice Versa
Luminosity masks work well in the examples given above. However, you may often want to go the opposite way and darken down the brightest areas of an image or vice versa. Luminosity masks can be used just as well to do this but you must be careful as by doing this you can expose one of the biggest pitfalls to using these masks.
Taking the base image above, I will now attempt to darken down the sky.
To target the sky I will have to use a lights mask. I will use the lights (2) mask from before. Notice how the sky is lightest so the adjustment will affect this more.
I now apply this mask to a curves adjustment and darken down the exposure.

Here is the result. The sky is darker but the foreground is relatively unchanged.

Tonal Compression
Now this may seem all well and good, and when used subtly this can have a good effect. However, because of the way luminosity masks work i.e. they allow adjustments to affect different areas to differing degrees based on their tonal value, when you use a lights mask when darkening something down, you effectively compress the tonal range.
This is because the lights luminosity mask darkens down the lightest parts more than it does the darker parts. To illustrate this, I will use the same example above but push the curves adjustment to a far darker value.
Here is the curves adjustment.
And here is the result. The contrast has been significantly reduced due to this tonal compression effect.

Luminosity masks only create this tonal compression when you use a lights mask to perform a darkening adjustment and vice versa. If you use a lights mask to lighten the exposure (and the same with a darks mask), you will get a tonal expansion which is usually more preferable.
Dodging and Burning
The exposure adjustments I showed above affected the whole image but were directed to specific tonal values via the luminosity mask. But what if you wanted to make the exposure adjustments target an even more specific area i.e. to dodge or burn a small part of the image.
Well, luminosity masks can be used almost as a self-feathering container when performing dodging and burning to contain the luminosity change to a specific area and also feather it to stop harsh transition edges.
Here is an example below. Using the same base image, I now want to darken down only some of the dark areas using the dodging and burning tools in Photoshop. I first select a darks mask. I have chosen darks (4) as it isolates the changes to the darkest areas.
I will now use the burn tool and start very loosely burning areas of the image to darken them down. I darken down the shadow areas around the hills and clouds and some of the reflections.
Here is the result. The burn tool has darkened only the darkest parts and not affected the lightest areas. The luminosity mask’s self-feathering properties has ensured the exposure adjustments are seamless and natural looking. On the left is the base image, and on the right, after the burning has been applied.

To see just what the luminosity mask has done, here is the image with the burning applied but with the luminosity mask disabled. You can clearly see where I have applied the burning and just how loose I was with it, but the luminosity mask has ensured it is contained and feathered seamlessly.
Masking the Mask
That is one way of making more targeted adjustments. Another way is by effectively adding another layer mask, or masking the mask. Photoshop doesn’t allow for multiple layer masks on a single layer, so to do this you have to make the layer part of a group and then add a layer mask to that group.
Using the same example above, I will again darken down some of the shadow areas but only in the outcrop of rocks on the left of the image.
First I select my luminosity mask. I will use dark (4) again.
I will now add a curves adjustment which has this mask applied and darken down the exposure. This affects all the darks in the image.
I will now take this curves adjustment layer (and its luminosity mask) and make it part of a group. I will then add a blank, pure black layer mask to this group so the effect does not show through. Below is a screen capture of the layers tab showing this.
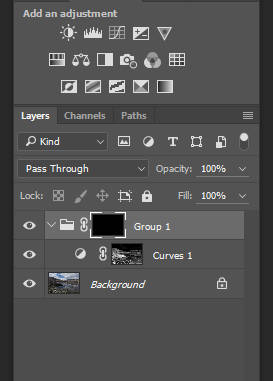
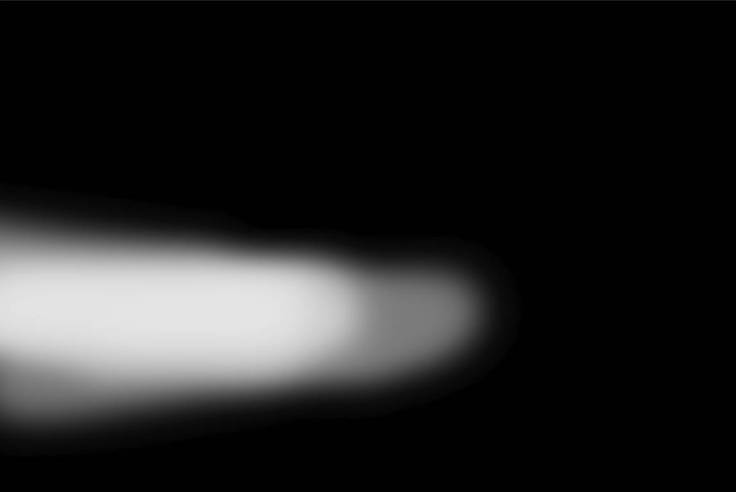
Now to target this to my desired area which is the outcrop of rock, I merely paint loosely on the group layer mask with a white brush in that area. Because of the luminosity mask on the curves adjustment I do not have to be too careful with this as it will contain it to the dark areas. Here is the group’s layer mask with the area I have very loosely painted.
Here is the result. Only this outcrop of rock is affected by the changes and the luminosity mask ensures a seamless result.

And here is what it looks like with the luminosity mask disabled. Notice how liberal I was when painting the effect through the group’s layer mask.

Conclusion
That is an overview of how to do exposure adjustments using luminosity masks. I hope it has illustrated how powerful and helpful they can be. I also hope it has shown the potential pitfall to using them.
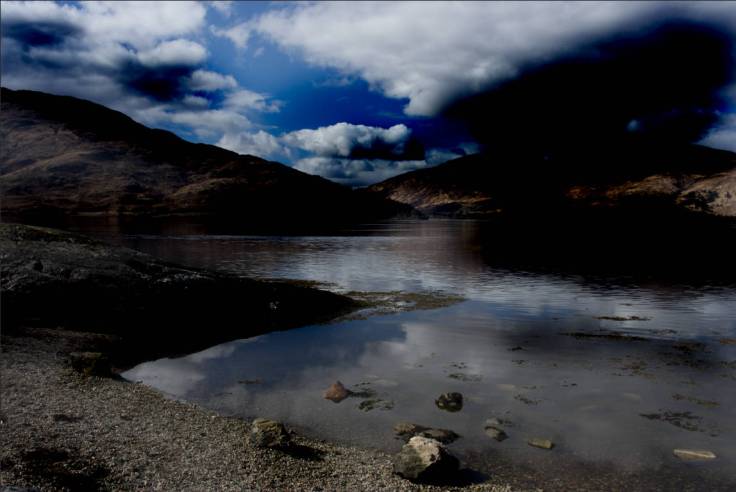
In the next (and last) part I will show how luminosity masks can be used to blend multiple exposures easily and seamlessly. Until then, here is a copy of the above the above that I have fully processed. Nearly all the exposure adjustments in the image were done using luminosity masks which helped make the processing far easier and quicker.

Thanks for Reading,
Neil


