
You may have heard people refer to using luminosity masks when processing their images, but what exactly are they, and why are they so useful?
Luminosity masks are a type of layer mask used in image processing software which can be extremely powerful and useful in editing photos. But, to fully understand how they work, it is probably first best to explain what layer masks are.
In this post I will show their use in Photoshop but they can be used in other software which uses layers such as G.I.M.P.
Layer Masks
First, I want to quickly explain what layer masks are, as it will help understand how luminosity masks work.
Layer masks, in simplest terms, are additional masks added to a specific layer in Photoshop which only allow certain parts of the specific layer to be visible.
If that sounds a bit confusing, I will show it below.
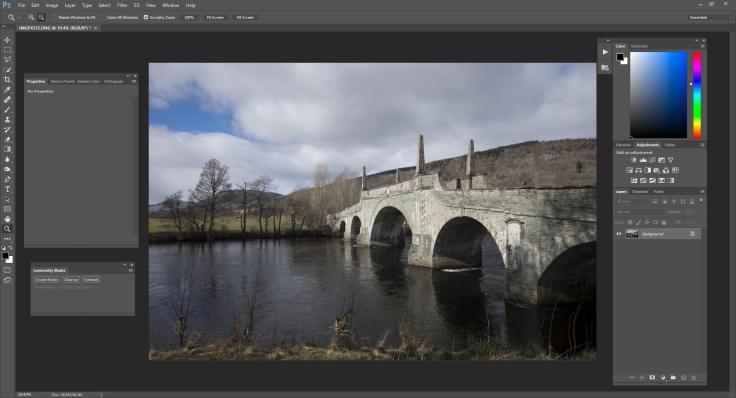
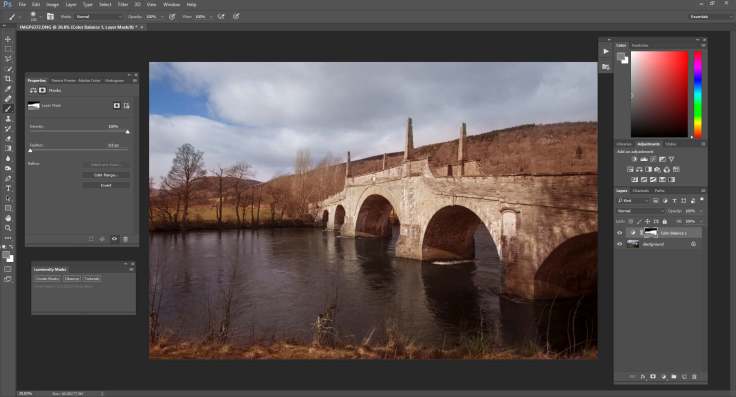
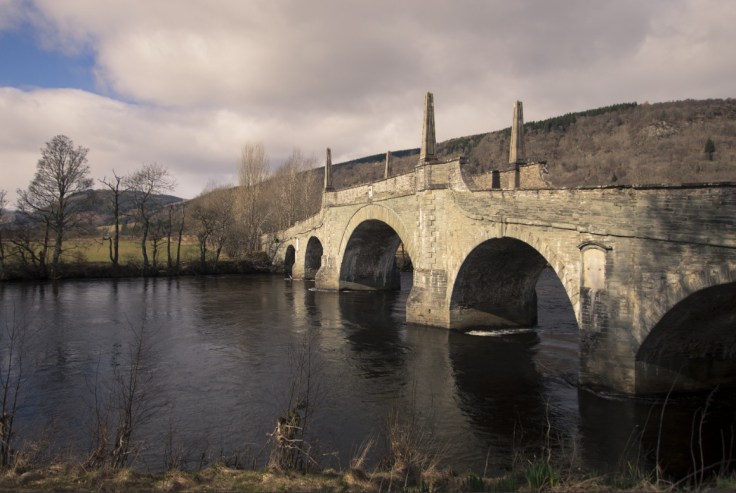
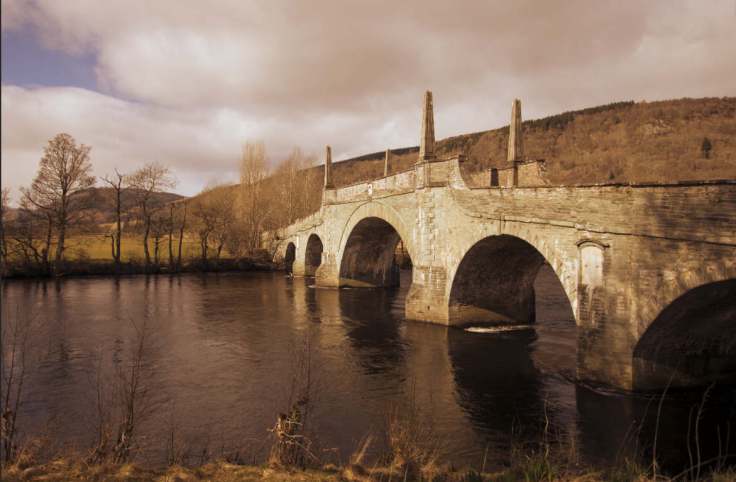
Here is a simple image of a bridge. There is currently only one layer which is titled background.
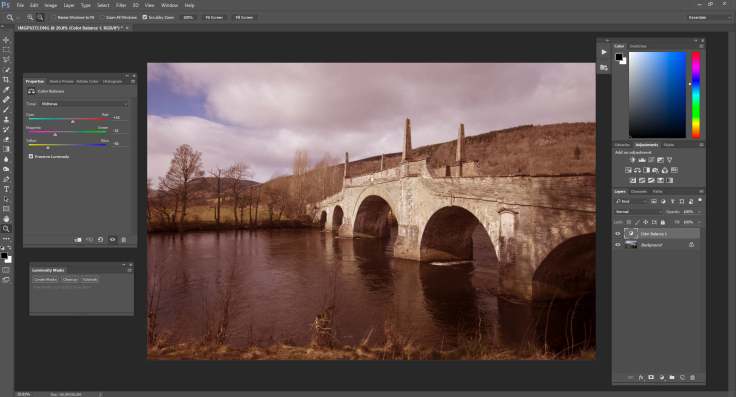
I will now add a colour balance adjustment layer and add push the colours towards a magenta hue. As you can see, the effect of this colour balance adjustment layer is applied to the whole image.
I will now add a layer mask to the colour balance layer. This initially shows up as a white rectangle on that layer. I have drawn a red box around this on the screen capture below.
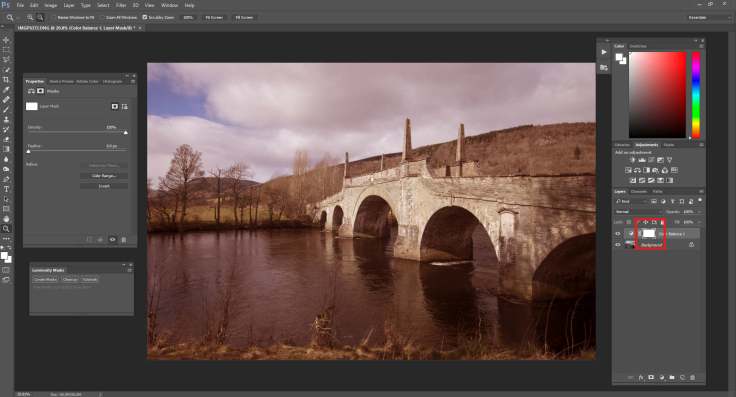
This white box is the layer mask and controls how much of the adjustment layer is visible.
White Reveals and Black Conceals
Layer masks are monochromatic and what is visible is dependent on the tonal value in the mask. Everything that is pure white will be totally revealed, and anything that is pure black will be totally concealled and not affect the image. Any greys will affect the image depending on how light or dark they are e.g. a very light grey will allow the a large percentage to be revealed, and anything dark grey will only allow a small percentage to be revealed.
The layer mask can be altered directly by painting on it and I will do this to show the effect. Using a black brush (which conceals) I will paint pure black into layer mask where it affects the sky area.

You can now see the magenta colour shift from the colour balance adjustment doesn’t affect this area of the image.
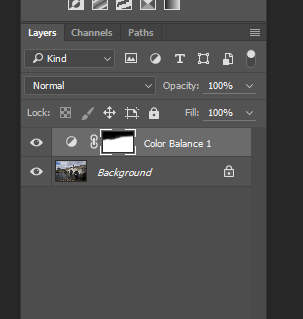
This is what the layer mask now looks like in the layers tab. Notice the black area where the effect of the colour balance layer doesn’t now become visible.
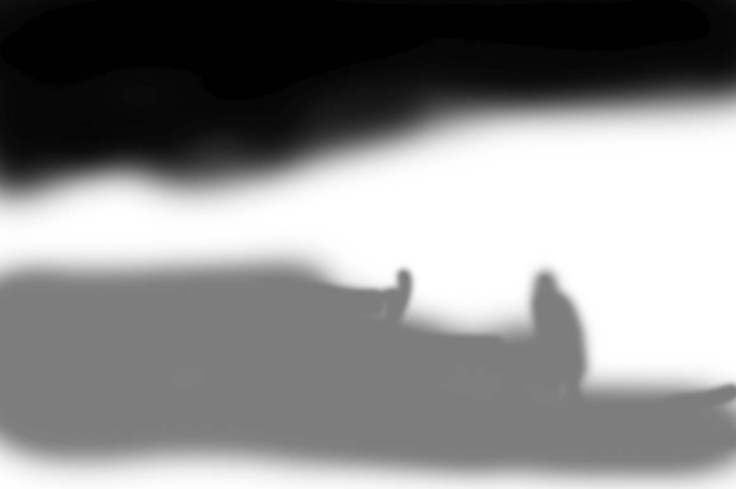
I will now take this further and paint a mid grey into the layer mask of the area of the water in the image. This mid grey colour allows approximately 50% of the colour balance adjustments effect to be revealed into the image. Notice the layer mask in the layer tab with the mid grey area added.
You can view and edit the layer mask directly as a whole image which makes it easier to see what you are doing. Here is the layer mask for the above image with the black and mid grey areas painted in.
I hope this explains what layer masks are as you need to understand this to understand how luminosity masks work.
Luminosity Masks
Luminosity masks are layer masks created using the luminosity values of the base image. i.e. a monochromatic tonal map of the image which is then applied as a layer mask.
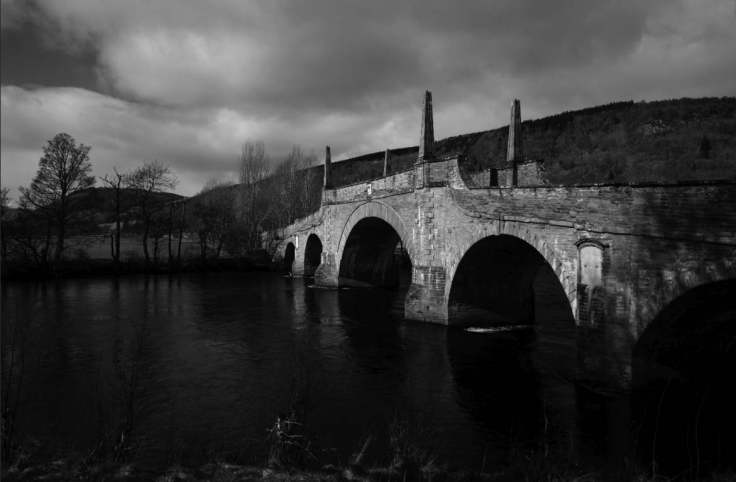
To show this I will create a simple luminosity mask using the image of the bridge.
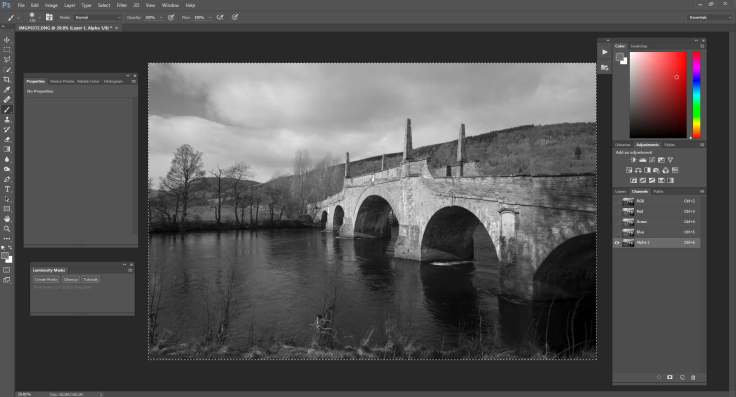
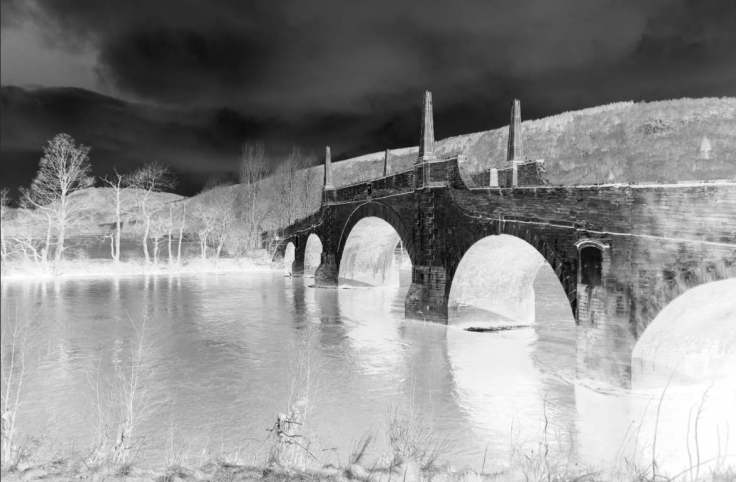
In Photoshop, I create a new alpha channel in the channels tab. I convert the image of the bridge to a greyscale copy. I then paste that greyscale copy into the newly created alpha channel. This new channel can now be used as a layer mask.
Here is screen capture showing the newly created channel.
This newly created mask will now have the same effect as any other layer mask with the light areas revealing more of the layer and the darker areas concealing more.
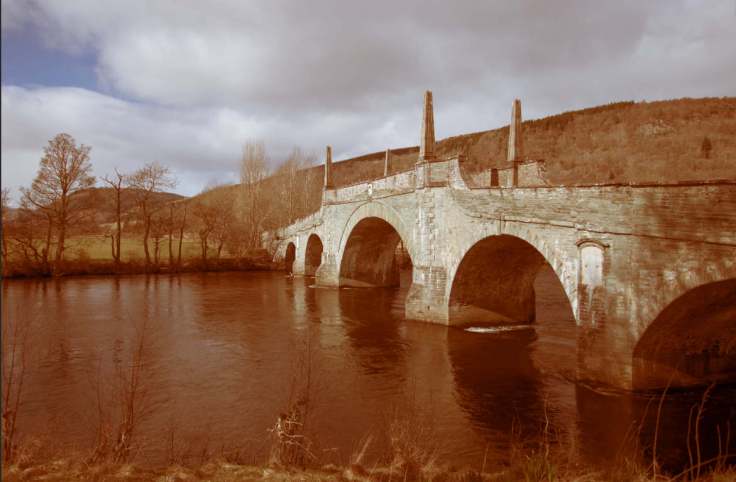
I will show this by using an example similar to the one above. Taking the photo of the bridge, I will add a colour balance adjustment layer with the newly created luminosity mask as it’s layer mask. I push the colours towards orange but notice how the colour change affects the light areas more than the dark areas.

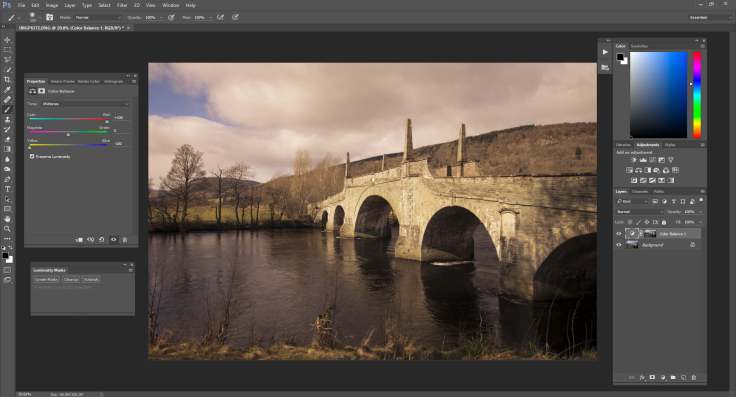
And this is what luminosity masks do, they allow you to target adjustments to specific tonal areas within the photo.
Creating a Series of Luminosity Masks
Above, I quickly showed how to create a single, basic luminosity mask however to get the most from them you really need a series of different luminosity masks based on different tonal values within the image. This allows any adjustments and layers to be targeted specifically to certain tonal areas within the photo.
These luminosity masks can be created manually and their are many in-depth tutorials online showing how to do this. However, it may be best to download a Photoshop action which does this automatically. The one I use was created by Greg Benz and his website (gregbenzphotography.com) has load of info on luminosity masks including a free downloadable Photoshop action to create them.
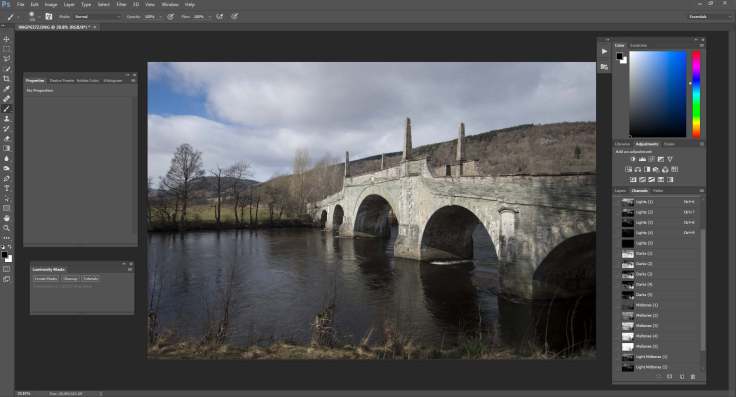
Once the action is installed it appears as a floating dialogue box in Photoshop (shown in outlined in red below.
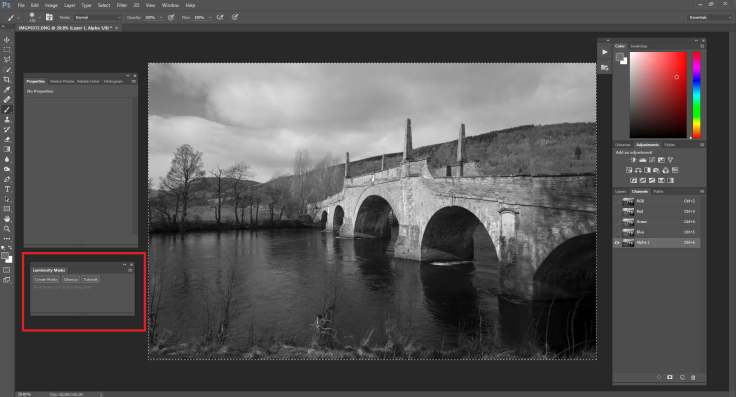
From this, just click the button to create masks and it will create a whole series of different luminosity mask from the base image. Using the image of the bridge again, I use the action to create a series of luminosity masks which appear in the channels tab and can be now used as layer masks.
What are the Different Luminosity Masks?
The luminosity masks created from the action are all labelled differently and have different tonal values as you can see below.
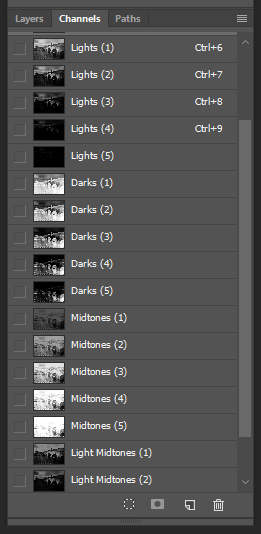
They are grouped into different categories.
Lights – These are masks where the lightest parts of the image appear lightest in the mask. Thus the changes from the layer will affect them more.
Here is the lights (2) mask. Changes will affect the extreme lights more.
Using the colour balance adjustment from above, this is how it affects the image. Notice the colour change only really affects the light parts on the front of the bridge and the highlights in the clouds.
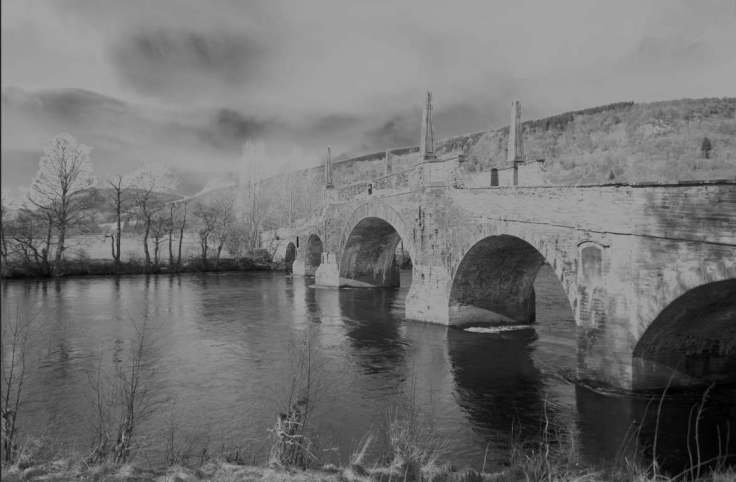
Darks – These masks allow changes from the layer to target and affect the darkest parts of the image.
Here is the dark (2) mask. It is effectively an inverse of the lights masks, thus changes will affect the dark areas more.
Using the colour balance adjustment from above, this is how it affects the image. The light clouds remain mostly unaffected but the rest of the image is changed considerably.
Midtones, Light Midtones and Dark Midtones – These masks allow changes from the layer to target and affect different midtone values more.
Here is the midtones (2) mask. Changes will now affect the midtone areas more than the extreme lights and darks.
Using the colour balance adjustment from above, this is how it affects the image. Most of the image is mildly affected but the extreme lights and darks are not.
Hopefully this has shown what luminosity masks are and how they are applied. I have just used a colour balance adjustment layer to demonstrate the affect they have as it is a lucid way to show it. However luminosity masks can be applied to any layer, whether that be an adjustment layer or another image layer, and their real power becomes evident when doing luminosity changes to the image.
However, this is enough for this post. In the next post I will look at the different uses of luminosity masks especially in relation to luminosity changes and merging multiple images. I will also look at some of the pitfalls of using them.
Thanks for Reading,
Neil


Reblogged this on KULTIVATE MAGAZINE.
LikeLike