
In my last post I mentioned using hard graduated neutral density filters (hard grad ND for short) to help restrict the light from the sun coming into the camera. Today I will have a more in depth look at these filters.
What are Neutral Density Filters?
Neutral Density filters reduce the amount of light passing through them and into the camera’s lens, thus allowing longer exposure times. In theory, they do not alter the sharpness, contrast or rendition of the colour, however cheaper ones can tend to add colour casts. They are rated in steps of 0.3, with each 0.3 step representing a 1 f/stop reduction in light passing through them. i.e. a 0.3 filter represents 1 f/stop reduction, a 0.9 filter represent a 3 f/stop reduction etc. Each f/stop represents a halving of the light going through, and thus a doubling of the exposure time needed.
Graduated ND filters are filters with half the area of the glass transparent, which does not alter the light going through it, and the other half with a darkened ND area, which does reduce the light going through it. You can get either soft, hard or reverse graduated filters
- Soft graduated filters have long, soft transition zone between the transparent area and the darkened area.
- Reverse graduated filters have a short, hard transition zone between the transparent area and the darkened area on the filter but the darkened area is not uniform with it reducing towards the top of the filter.
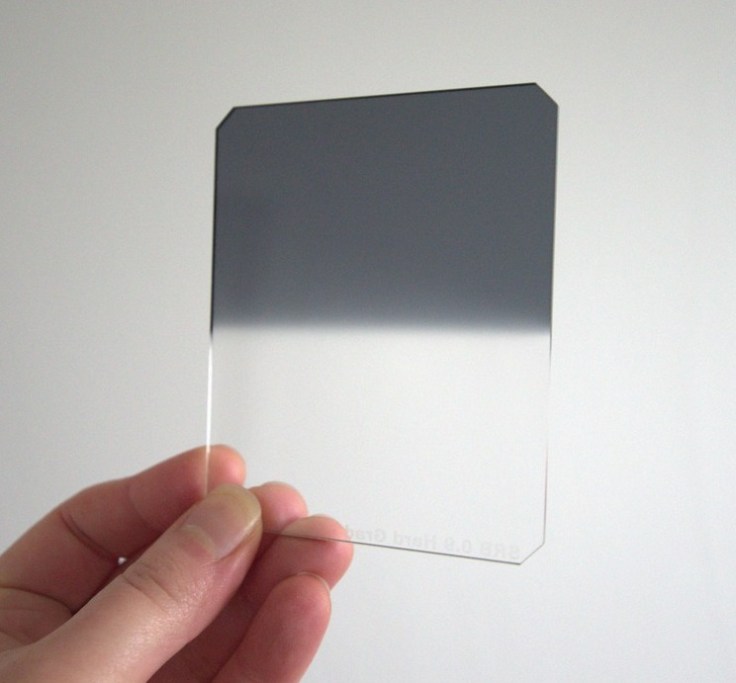
- Hard graduated filters have a short, hard transition zone between the transparent area and the darkened area on the filter, and a uniform ND area beyond the transition zone.
In this post I want to look at hard graduated ND filters.
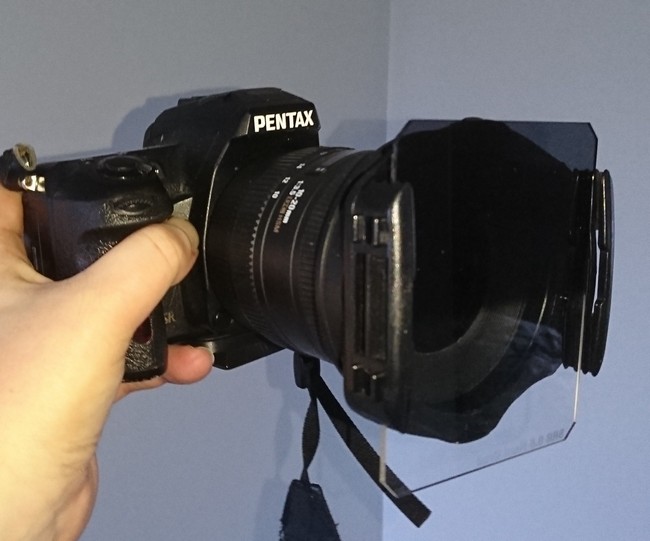
Round or Square?
You can get circular hard grad ND filters which screw directly on to the end of your camera lens, and you get square filters which slide into a special holder which screws on to the end of your camera lens. Circular filters are fixed in place on your lens and only allow you to rotate them. The square filters however are far more versatile as you can not only rotate them in their special holder, but also move them up and down which is handy when trying to position the transition zone of the filter. Thus, I would recommend using the square filters.
Where can you use Hard Grad ND Filters?
Hard Grad ND filters are primarily used in landscape photography to reduce the amount of light entering the camera from the sun and sky. Too often when taking landscape photographs, the contrast between the sky and foreground (due to the intensity and brightness of the sun) is too much for your cameras sensor to deal with. This leads to significant underexposure of the foreground and/or overexposure of the sky. By using a hard grad ND filter and positioning it so the darkened part sits over the sky you can reduce the amount of light entering the camera from the sky which will give a more balanced exposure. The short transition zone on the hard grad filter makes it ideal for when the sun is low in sky or on the horizon. Equally though, it also works well when the sun is higher in the sky. Of course, the effect of these filters could also be applied creatively in other types of photography.
Let’s see what they do
Let’s take a look at the effect of this filter on some photographs.
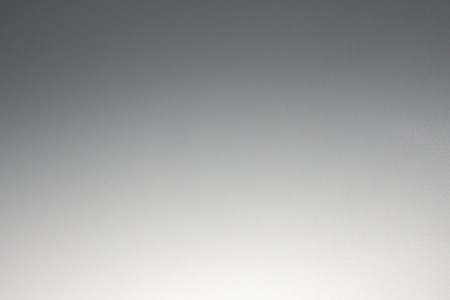
Below is a small table showing a series of photos shot with various strengths of hard grad ND filter against a uniformly lit grey wall. Hopefully, these will to give you an idea of the effect various strengths of this filter produces.. These were shot at a focal length of 14mm.


It is worth noting that the focal length will have an impact on how ‘hard’ the transition from transparent to dark is. Wider angle lenses with short focal lengths will give a shorter or harder transition than longer focal lengths. Most people use hard grad filters in wide angle landscape shots, giving them the short, hard transition over the sky and foreground.
Out and about with a Hard Grad
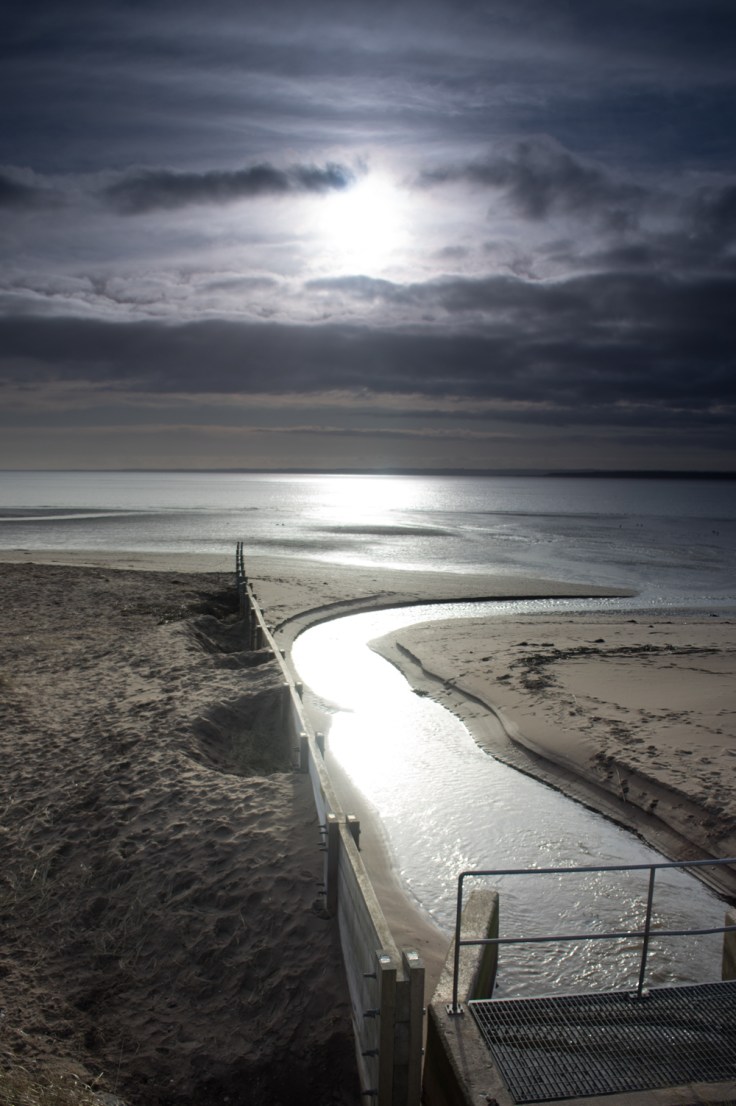
To give a more real world demonstration, I hopped down to the beach to take some snaps. These were taken mid morning so the sun was already quite high in the sky and fairly intense.

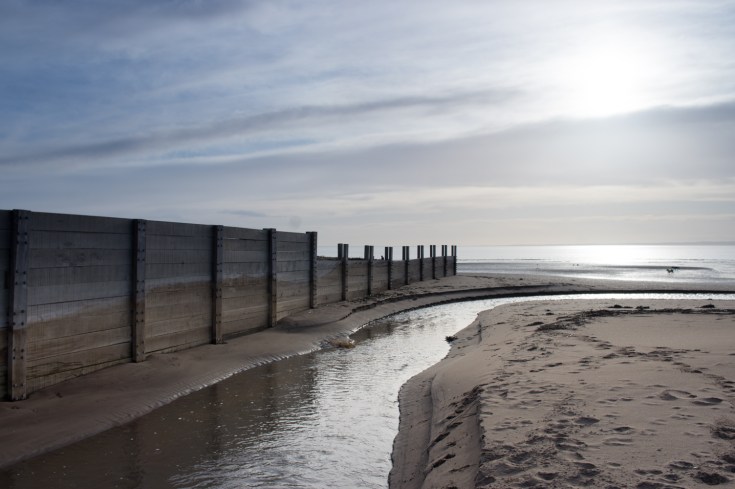
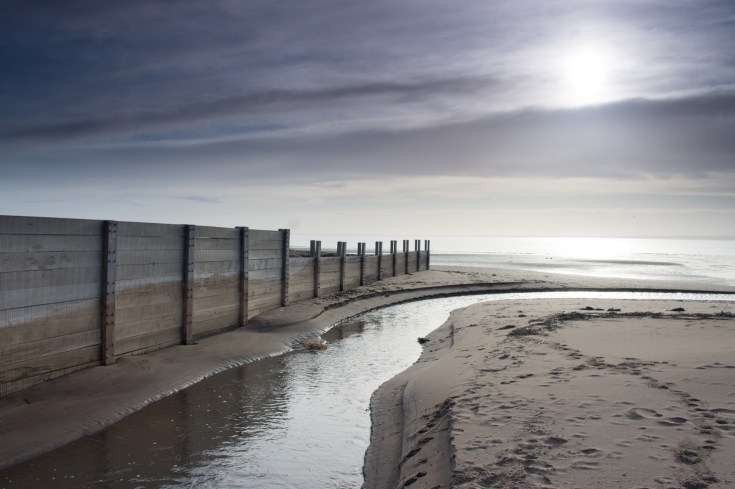
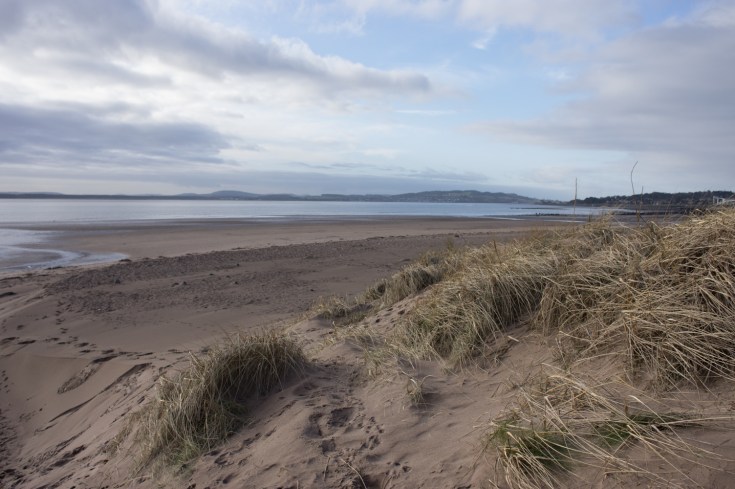
That was shot almost directly into the sun. The shots below are taken with the sun just out of shot to the left.

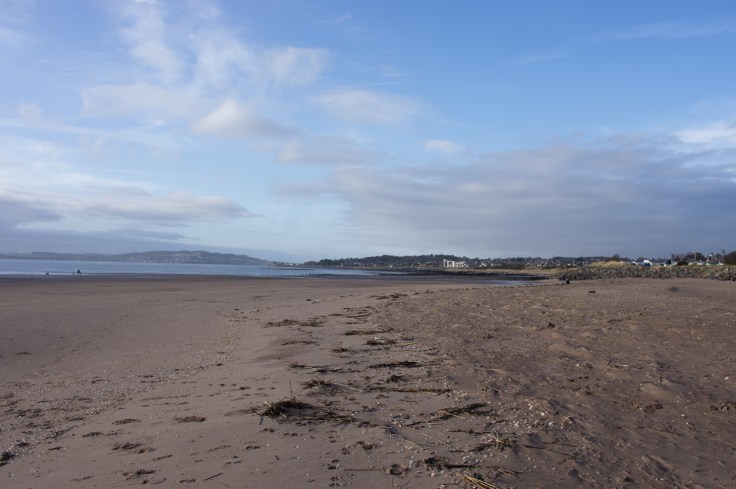
One last example. This taken with the sun about 90o to my left.

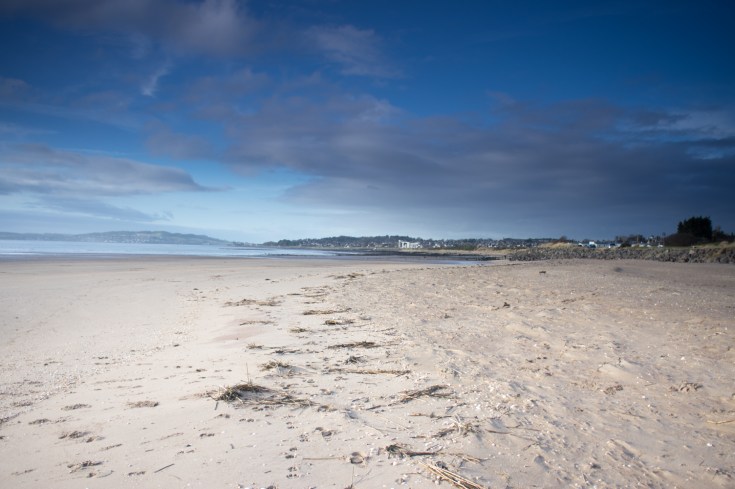
Of course, you don’t have to use these filters to create a natural looking scene. You can add them on to produce more surreal effects.
It’s not all positives
As this shows, hard grad ND filters can be used to help balance out the exposure from overly bright skies. They can also be used to create some wonderful, surreal effects. However, there can be a number of drawbacks from using them:
- They work well with a straight horizon line which has nothing protruding above it. But anything that protrudes into the filtered area, such as trees, people etc will also be darkened too.

- Because of the hard transition area these filters have, you have to be quite precise with placement of the filter. If it is too high or low, or slightly askew, the effect can look very unnatural. This can often be tricky and time consuming to correct in post-processing. Moreover, it can sometimes be difficult to identify this through the viewfinder when shooting.
- Cheaper filters can tend to give off a colour cast. Better quality filters can be quite pricey. Sometimes over £100 for one glass filter slide.
An Alternative to Grad Filters
There is an alternative to using these filters and that is to use post-processing to create a similar effect. This can be achieved either editing a single photo or by taking multiple exposures and merging them together. If your scene has a wide dynamic range e.g. a strong contrast between the sky and foreground, I would recommend taking multiple exposures as a single image may not contain enough image data and any large scale exposure changes will generate a lot of noise.
The advantages to using post-processing are that have much more control over the final image. It also allows you to circumvent the problem of objects protruding into the filtered area. If you are merging multiple exposures you also have the advantage of capturing much more image data which gives even more flexibility in the final image. However, the post-processing processes can be fidgety, time consuming, and requires appropriate software and a good knowledge of how to use it if you want a decent final result.
Are they for you?
So it really depends on you preferences and skills if you think these filters are for you. If you prefer getting a good image right from the capture and don’t like spending a lot of time tinkering around in post processing, then a set of these filters would likely be a good idea. If however you are like me and you are happy spending a lot of time in post-processing because you enjoy the flexibility and control that gives you, then you may have limited use for these.
Thanks for Reading,
Neil


